FYI: This website contains affiliate links. As an Amazon Associate I earn from qualifying purchases.
- Home
- Water Collection
- Barrel Stands
Rain Barrel Stand Designs for Real Yards
By Amy DeVries
Short answer: Of all the rain barrel stand designs, a cinder block stand 12 to 24 inches tall is best for most beginners. Set it on level, compacted sand topped with pavers. A full 55-gallon barrel weighs close to 500 pounds, so make the base wider than the barrel and strap it if kids or pets are nearby.
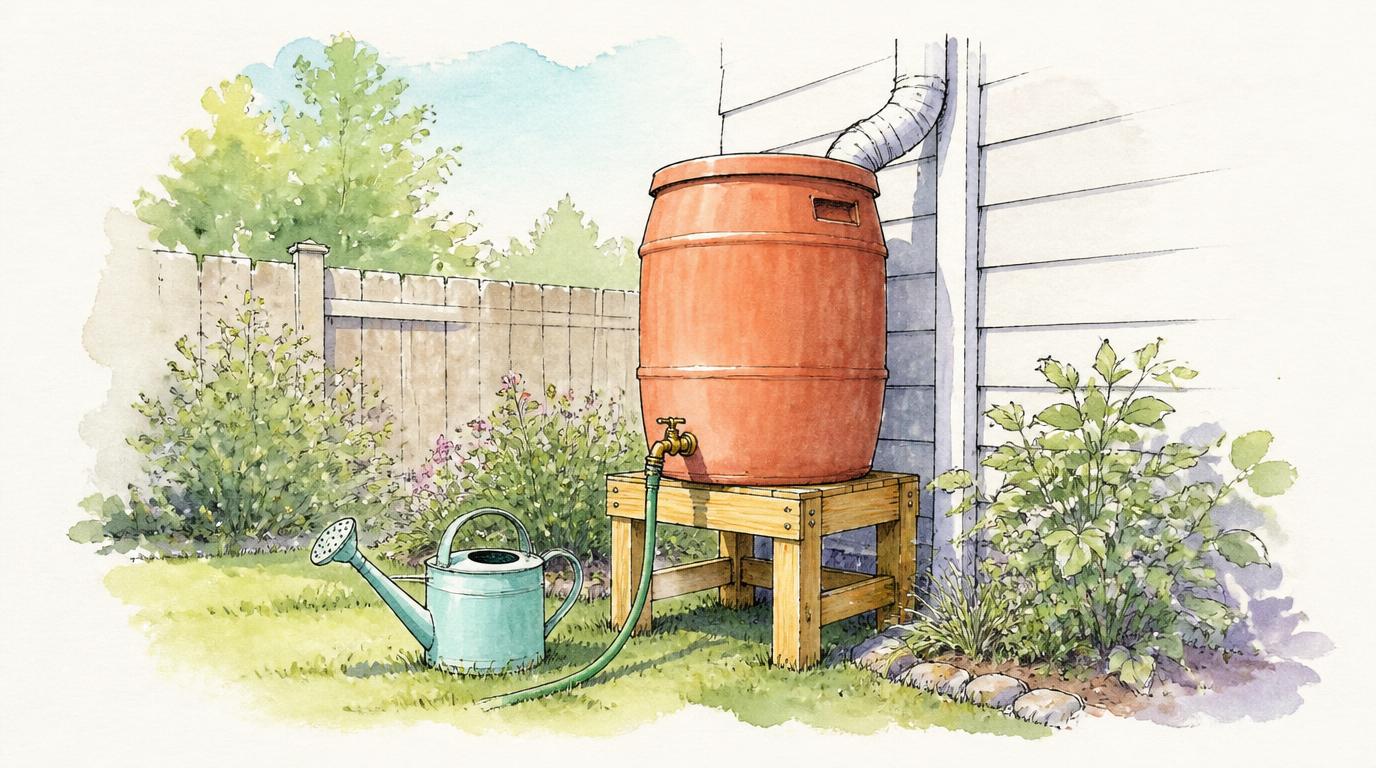 Illustration of a wooden rain barrel stand. For a real one, set the legs on a level, compacted base, not bare lawn.
If your rain barrel is sitting flat on the ground, or still in the garage waiting for a plan, you're in good company. Most of us get the barrel first and figure out the stand later. That's not doing it wrong, it's just the usual order.
Most rain barrel stand designs pages show you a handsome build and leave you to guess whether it fits your yard. This one works the other way. I'll help you choose a design based on four real things:
- your ground
- the weight of your barrel
- how much height you need
- how comfortable you are with tools.
Then I'll describe what each of the rain barrel stand designs looks like.
You don't need a big yard or woodworking skills. You need a level spot, something solid, and about an afternoon.
Our first rain barrel quickly grew to a set of four connected together. It was a challenge to figure out how to level them on a slope along the side of the house. We also realized we needed to raise them higher to be able to fill our jugs more easily. Hopefully, I can help you figure out what you need so you'll set it up right the first time.
Or maybe you'll be back for more ideas later. We eventually replaced those four standard-size rain barrels with a 200 gallon rain tank, and now that we have more land we've set up even more rain tanks.
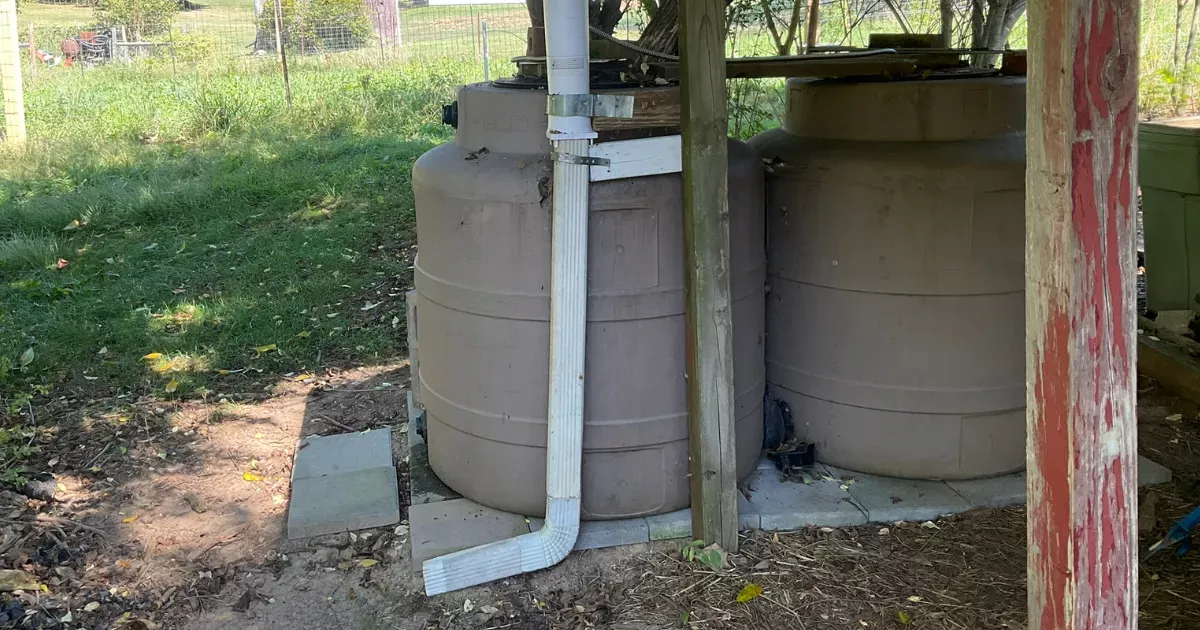 Our current setup: rain tanks tucked under the roof overhang. It’s a different system from a barrel on a stand, but the same rule applies. A level, solid base comes first.
Rain barrel stand designs at a glance
- Cinder block stand (8–18 inches, no tools needed): Best for first-timers, renters, and tight budgets. Skip it if it has to look spiffy by the front door.
- Wooden 4x4 stand (12–24 inches, basic drill and saw): Best for visible spots near a patio or porch. Skip it if you want zero upkeep.
- Low paver or simple raised base (2–6 inches, no tools needed): Best if you dip water from the top or rarely use the spigot. Skip it if you want to fill a watering can from the spigot.
How to choose between rain barrel stand designs
The best rain barrel stand designs for you depend on your actual space, your ground, your barrel, and what you're comfortable building, not on copying someone else's DIY plan. These four questions help you figure out your situation.
- What's under it? Soft soil, lawn, or a slope means you need base prep first, whatever design you pick. A flat patio or existing pavers gives you a head start.
- How much will it hold? Check your barrel's gallons. A 55-gallon barrel needs a stand built for about 500 pounds. Bigger barrels or linked barrels need a wider, heavier base.
- How high does the spigot need to be? Filling a watering can usually takes 14 to 18 inches. A soaker hose works better with more height. If you only dip from the top, a low base is fine.
- What can you build comfortably? No tools: cinder blocks or a low paver base. A drill and saw, and you like a small project: wood.
The quick version: Most beginners land on cinder blocks over a sand-and-paver base. It's sturdy, cheap, needs no tools, and comes apart if you move.
We started with cinder blocks then upgraded to sand and pavers under the huge rain tanks that already have slightly higher spigots.
Before you build: Check your HOA rules and any local regulations on rain barrels or water collection. Most places allow them, but some HOAs have rules about placement or looks, and a few areas limit how much rainwater you can collect.
Start with the weight: A full rain barrel weighs close to 500 pounds
Water weighs about 8.34 pounds per gallon. A full 55-gallon barrel holds around 460 pounds of water, plus the barrel itself. Clemson Cooperative Extension puts a full 55-gallon barrel at over 450 pounds and recommends securing any elevated barrel to prevent injury.
That weight sits on a circle about two feet across. A plant stand, a few loose bricks, or a patch of lawn won't hold it steady for long.
Stability starts under the stand, not in it
This is the part most build tutorials skip. A perfectly built stand on soft, uneven ground will still lean. And the ground right under a downspout gets soaked every time it rains.
If one side sinks even an inch, a full barrel starts to tip like the leaning tower of Pisa. So the base comes first.
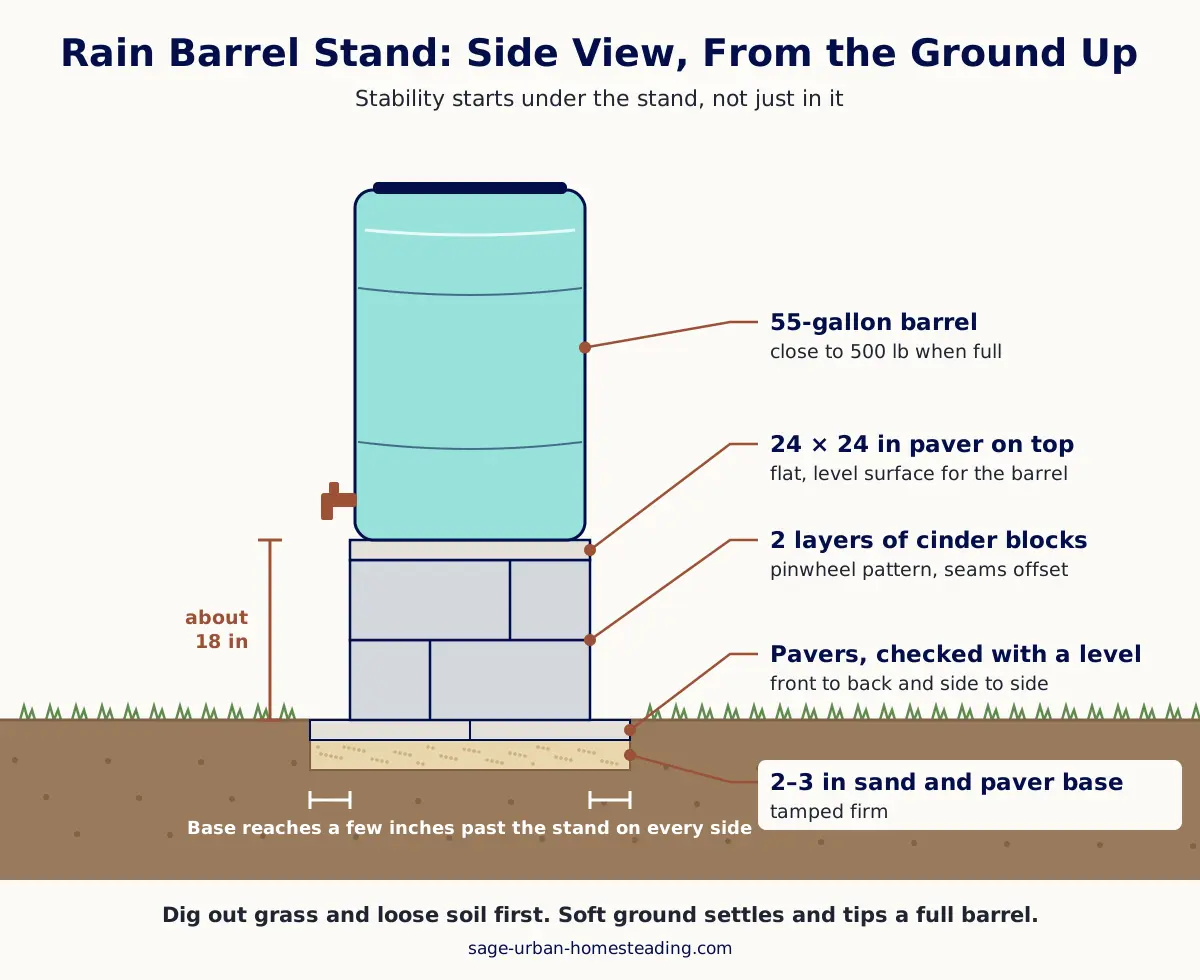
How to prep the base
- Dig out grass and loose soil in an area a few inches wider than your stand on every side.
- Add a layer of sand and paver base, then tamp it firm.
- Set pavers on top and check them with a level, front to back and side to side.
- Adjust by adding or scraping sand under any low or high corner until the level reads true.
Honestly, my husband did most of the digging and lifting the heavy pavers. I checked the ground and the sand with a level. I also checked each paver both ways with a level as he set them in.
Later on one of our rain tanks, we used the plastic edging that helps hold pavers in place over time, and I think that was worth the added expense. However, I also tried the cement sand on top to fill in the gaps, and it was not worth it. Plain sand works just as well.
Do you need to rent a plate compactor?
Due to our urban setting with a slope and fence near the side of the house, we could not bring in the big equipment that some people use to level and compact..
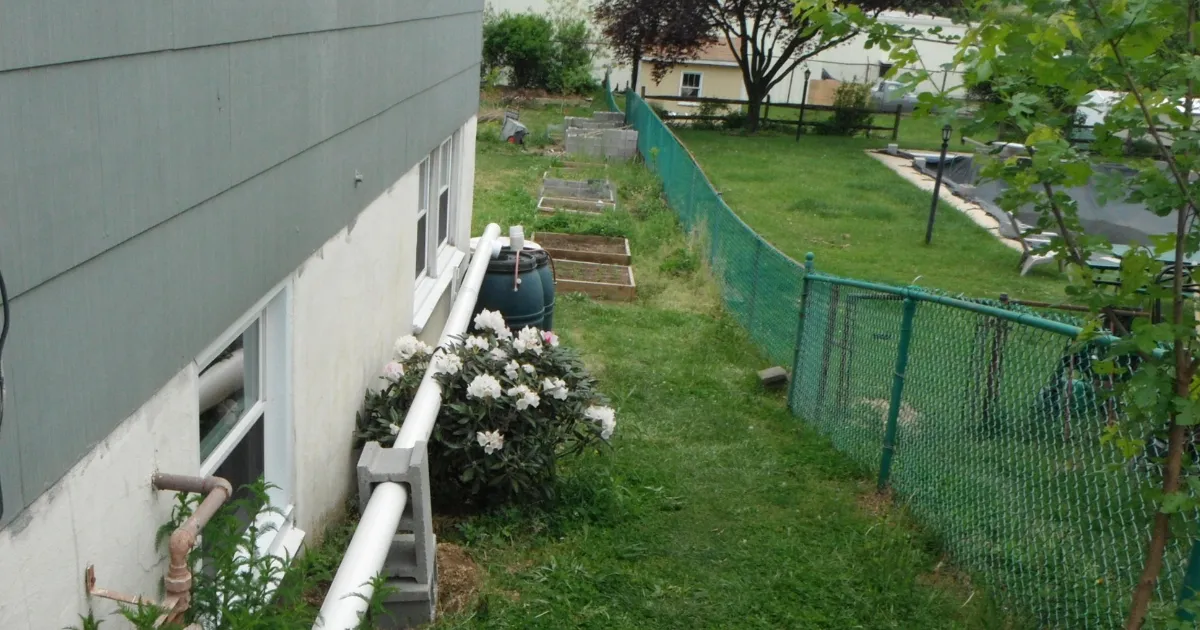 Not every yard has room for rental equipment. This narrow sloped side space is why we tamped our base by hand.
We found a hand tamper worked just as well, although it is heavy and requires some muscles.
Protect your base from overflow
When the barrel fills, overflow has to go somewhere. If it spills right next to the stand, it can wash sand out from under your pavers over time. Point the overflow hose or spout a few feet away, toward a garden bed or away from the house.
Strap it for stability if kids or pets are around
The Dallas County Master Gardeners suggest anchoring the barrel to a post or wall where small children are a concern. A ratchet strap or nylon strap around the barrel, fastened to the wall with tie down anchors, is inexpensive insurance.
Not sure a rain barrel is the right first project for your space? My free 2-page guide, Which Urban Homestead System Should You Start First?, helps you pick one good place to start.
Choosing materials: cinder blocks, wood, or a simple raised base
Most rain barrel stand designs are a version of one of these three. Here's what each does well and where each falls short.
Cinder block stand (my pick for most beginners)
Cinder blocks don't rot, don't need tools, and come apart in minutes if you move. They're the sturdiest option per dollar.
What you need:
- 8 standard cinder blocks (8 x 8 x 16 inches)
- 1 concrete paver, 24 x 24 inches, for the top
- Your prepared sand-and-paver base
How to build it
- On your leveled base, lay 4 blocks in a pinwheel. Each block's end butts against the side of the next, making a 24-inch square with a small gap in the middle.
- Add a second layer of 4 blocks in a pinwheel turned the opposite way, so the seams don't line up.
- Set the 24-inch paver on top and check level again.
- Set the barrel in the center, so its weight stays well inside the edges.
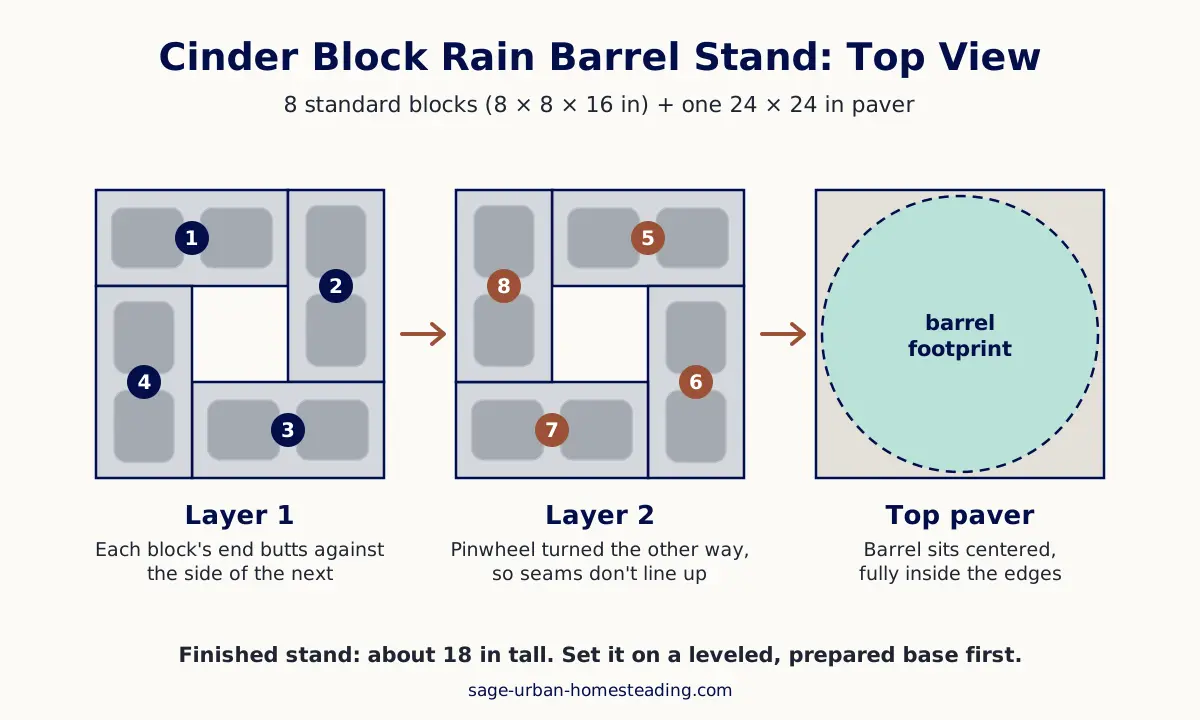
This gives you a stand about 18 inches tall. Measure your barrel's base first; if it's wider than 24 inches, widen the stand to match.
I think we only did one or two layers on our earliest version. We took it apart when we switched to rain tanks, so I can't say how it would hold up long-term, but in our case the rain barrels are what deteriorated first.
The honest tradeoff: It looks like cinder blocks. Masonry paint or plants around the base help. I planted some fine-leaf sedum that looked nice.
Wooden 4x4 stand
A wood stand looks tidier by a patio or porch. The usual design is a small square table: four 4x4 legs, a 2x4 frame, and a deck-board top. Use cedar or lumber rated for ground contact, and set the legs on pavers, not soil.
The honest tradeoff: Wood can warp or rot over the years, especially where it stays damp. Check it every spring. If you've never built with a drill, start with blocks. There's no prize for doing the harder version first.
Low paver or simple raised base
Sometimes a few inches is enough. Two or three pavers stacked on your prepared base keep the barrel out of mud and level. This works if you dip water from the top or rarely use the spigot.
The honest tradeoff: you won't fit a watering can under the spigot. Many people start here and add height later.
We found it was enough room to fill empty milk jugs. We laid them on their side and dug a hole to hold them at an angle. This way we could fill a couple of jugs at a time, laying them hands-free at the base of each rain barrel.
What about store-bought stands?
If you'd rather skip the building, a ready-made stand is a fine choice. You'll find wooden and metal options for rain barrel stand designs, and either can work. What matters is whether it's built for your barrel. Before you buy, check three things:
- Weight rating: It should be rated well above your barrel's full weight. For a 55-gallon barrel, that means comfortably over 500 pounds.
- Fit: The top should be at least as wide as your barrel's base, so no part of the barrel hangs over the edge.
- Height: Match it to how you'll use the water. About 14 to 24 inches works for filling a watering can.
Here are a few that check those boxes:
- 45/50/55 Gallon Rain Barrel Stand, 500 lb Heavy-Duty Wooden Base: a good fit if your barrel sits somewhere visible and you want it to blend in. Skip it if it will sit in a spot that stays wet, since wood wears faster there.
- l'Ezonk Heavy Duty Stainless Steel Rain Barrel Stand: a good fit if you want something low-maintenance that won't rot. I like that this model has adjustable legs.
Whatever you buy, still set it on a level, prepared base and strap the barrel if kids or pets are around. A sturdy stand on soft ground can still lean, especially over time.
As an Amazon Associate, I earn from qualifying purchases.
Materials I'd avoid
- Loose, stacked bricks with nothing tying them together
- Old pallets or untreated scrap wood sitting directly on soil
- Anything you can wobble by pushing on it with one hand
How High Should a Rain Barrel Stand Be? Height for Pressure
Rain barrels run on gravity, so height is your water pressure. Every foot of height adds roughly 0.43 PSI at the spigot. That's gentle, far less than your outdoor faucet, but it's the difference between a trickle and a steady stream.
The Dallas County Master Gardeners note that barrels are typically raised 12 to 36 inches. Here's how to pick your spot in that range:
- Dip from the top: 2–6 inches. Just enough to keep the barrel level and out of the mud.
- Fill a watering can: 14–24 inches. Clears most cans with room to spare.
- Run a short soaker hose: 24–36 inches. More height gives you more flow.
Taller means more wobbly
Every inch you add raises the center of gravity. A stand over 2 feet tall needs a wider base, and it should always be strapped. If you're torn between two heights, pick the lower one. You can add a layer of blocks next season before it fills up again.
Measure before you build
Set your watering can on the ground and measure to the top of its opening. Add 2 inches. That's your minimum spigot height, and your stand height is that number minus the distance from the barrel's bottom to its spigot.
A short hose will also be able to fill a watering can as long as the end of the hose is below the top of the water level inside the rain barrel.
Rain Barrel Stand Mistakes to Avoid
None of these make you a bad homesteader. They're just the things most of us learn the first time around.
- Building on bare soil or lawn. It settles unevenly after a few heavy rains. Prep a sand or gravel base with pavers first.
- A base narrower than the barrel. Keep the stand at least as wide as the barrel's bottom, so the weight stays inside the edges.
- Going taller than you need. Extra height adds tipping risk. Match height to how you actually water.
- Letting overflow pour beside the stand. It slowly washes out your base. Direct it a few feet away.
- Stacking loose bricks or scrap wood. If it wobbles empty, it will shift full.
- Skipping the strap around kids or pets. A strap costs little and prevents the worst outcome.
- Forgetting winter. If your area freezes, drain and disconnect the barrel before the first hard freeze, and leave the spigot open. A cinder block stand can stay out all year.
We usually drain our rain barrels and tanks in early November, just after first frost where we live in Maryland. See Winterizing Rain Barrels.
Note about freezing: The most vulnerable area of the rain barrel is the spigot. The fine parts in there are what gets damaged. It takes awhile for a large mass of water to freeze, so there is little danger of it freezing the first night the temperature hovers around 32 degrees Fahrenheit.
We got a siphon pump we can store inside and take out to use. This year we're going to try doing that as the weather gets colder so we'll have fresh outside water longer into the season.
Rain Barrel Stand Designs FAQ
Which rain barrel stand designs are best for beginners?
Which rain barrel stand designs are best for beginners?
A cinder block stand, 12 to 24 inches tall, on a level sand-and-paver base. It needs no tools, holds a full barrel's weight, and comes apart if you move.
How much does a full rain barrel weigh?
How much does a full rain barrel weigh?
A full 55-gallon barrel weighs close to 500 pounds: about 460 pounds of water plus the barrel. A 50-gallon barrel is roughly 420 pounds full.
How high should a rain barrel stand be?
How high should a rain barrel stand be?
Most barrels sit 12 to 36 inches high. For filling a watering can, 14 to 24 inches works well. Go higher only if you need more pressure, and widen the base and strap the barrel if you do.
Can I put a rain barrel on cinder blocks?
Can I put a rain barrel on cinder blocks?
Yes. Lay them on a level, compacted base, make the stand at least as wide as the barrel, and top them with a flat paver.
What should I put under a rain barrel stand?
What should I put under a rain barrel stand?
A layer of tamped sand or gravel topped with level pavers. Soil and lawn settle unevenly, especially under a downspout.
Is pressure-treated wood okay for a rain barrel stand?
Is pressure-treated wood okay for a rain barrel stand?
Yes, for the stand. Choose lumber rated for ground contact, or cedar, and set the legs on pavers or bricks to slow rot.
Do I need permission to put in a rain barrel?
Do I need permission to put in a rain barrel?
Usually not, but check first. Rain barrels are allowed in most places, though some HOAs set rules about where they go or how they look, and a few areas limit how much rainwater you can collect. Check your HOA and your local or state rules before you install one.
Closing
If you remember one thing, make it this: A good rain barrel stand is level, solid, and only as tall as you need. A stack of cinder blocks on a well-prepped base, built this weekend, beats a perfect stand you're still planning next summer.
And if your barrel is on the ground right now, that's fine. You're one afternoon away from fixing it.

Amy DeVries helps beginner urban homesteaders learn by doing. A lifelong gardener, she has grown food in spaces that expanded to 16 raised beds, patio containers, dwarf fruit and nut trees, and gravity-fed rainwater systems. She shares practical lessons shaped by real experience. Amy homeschools her children and teaches the same hands-on skills that guide her work.
You might like these
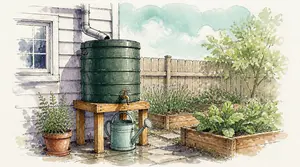
Rain Barrels: A Beginner's Guide
How to choose, place, and set up your first rain barrel, with real lessons from our own rain barrels and links to every next step.
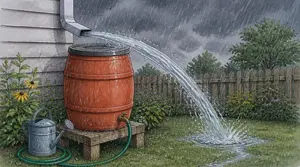
Downspout Diverter Options: What Happens When It Overflows
Compare downspout diverter options by what they do when your rain barrel fills up, and what each setup can realistically water.
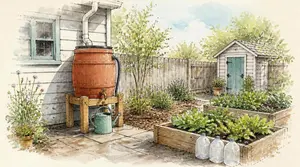
Water Collection for Beginners: Simple Home Systems
Start collecting rainwater at home with one barrel. Find every water collection step here, from stands and diverters to overflow, and drip watering.


More Information
Disclosure
All information found on this website is editorial in nature and intended to motivate and inspire rather than be used as medical advice or legal advice.
As an Amazon Associate, I earn from qualifying purchases. I also use Google Ads and cookies as described in the Privacy Policy.
Thank you for your support!
By Amy DeVries, Copyright © 2011-2026 Sage-Urban-Homesteading.com All rights reserved.
