FYI: I earn a small commission from some links and advertisements.
Homemade Wood Toys
I don't have a lot of experience with homemade wood toys, but I wanted to give my daughter some wooden building blocks for a Christmas present.
I believe in using natural materials whenever possible, so I wanted some plain wood blocks, just a small, simple set for a toddler.
I could not find such a product anywhere!
All of the sets available on the market were either choking hazards (recommended for age 3 and up) or the large classroom sets found in nursery schools that cost a fortune. Or they were painted multicolored!
I searched high and low, and couldn't find what I wanted, but I did find a copy of this natural wooden toys book
at my local library. I love that it also tells you how to make your own non-toxic wood dyes.
Inspired by this, with the help of a father with wood scraps and a saw, and an understanding of the unit block concept, we made our own set of building blocks.
The unit block concept is that there's a standard size rectangular block and all of the other blocks and dowels are sized to be halves or doubles of this size.
By doing it this way, you lay the foundation for early math skills. She'll explore how these homemade wood toys fit together and discover fractions on her own.
Basic Building Blocks Set
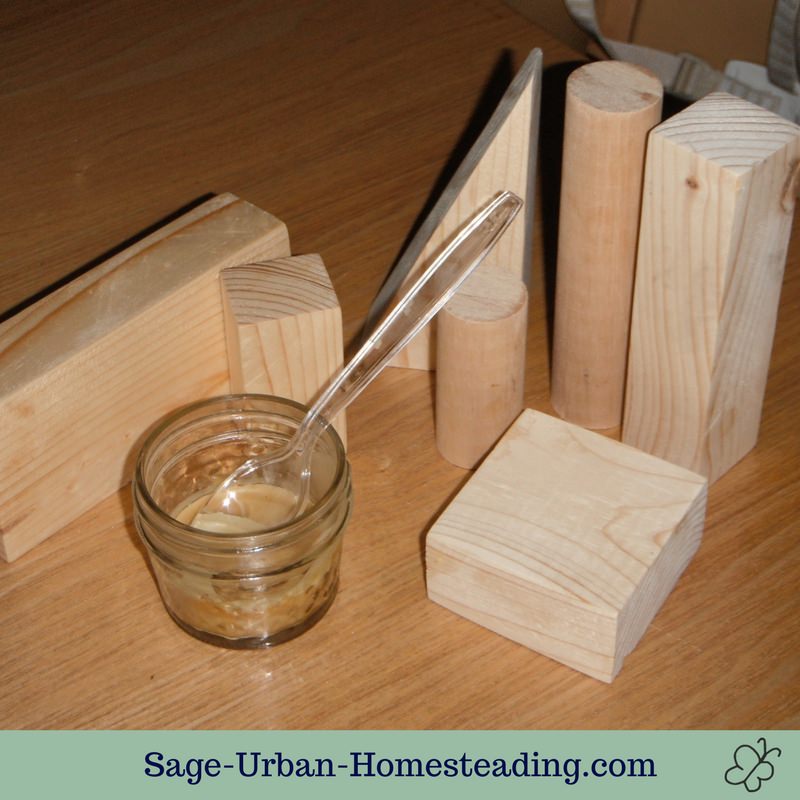
We plan to add more blocks to it as needed, future gift ideas, but here's what we made for a basic starter set for a toddler:
- 2 unit blocks (5-1/2" x 2-3/4" x 1-3/8")
- 2 half unit blocks (2-3/4" x 2-3/4" x 1-3/8")
- 2 unit triangle blocks (5-1/2" x 2-3/4" x 1-3/8" -- a unit block cut in half on the diagonal)
- 2 unit column blocks (5-1/2" x 1-3/8" or whatever diameter dowel you have)
- 2 half unit column blocks (2-3/4" x 1-3/8" or whatever diameter dowel you have)
- 2 double unit pillar blocks (11" x 1-3/8" x 1-3/8")
- 2 unit pillar blocks(5-1/2" x 1-3/8" x 1-3/8")
- 2 half unit pillar blocks (2-3/4" x 1-3/8" x 1-3/8")
- Roman arch (a unit block with a half circle cut out, the most difficult piece to sand)
- Roman arch door (made to fit the arch, the most difficult piece to make but it's a nice little puzzle with the arch)
A big thanks to Old Fashioned Blocks for giving us great ideas! If you want to spend $41 for this set plus more for shipping, it looks very good and is made in the USA, but we were able to make a satisfactory version at home from scraps for much less.
How to Stain Homemade Wood Toys with Natural Dye
Ok, so you know I wanted my blocks to look like natural wood. But the most interesting part of Natural Wooden Toys: 75 Easy-to-Make and Kid-Safe Designs is where it explains how to stain homemade wood toys with natural dye materials.
I did try the recommended way to make a natural wood polish with beeswax (from our own hives) and jojoba oil, as you can see in the photo with the blocks above.
The book doesn't give the exact ratios, so it was a little frustrating, but I'm satisfied with the results. I'm very happy knowing it will be safe when she puts it in her mouth.
It was very interesting, and we will definitely be making some animal figures or whatever other homemade wooden toys we need in the future and trying some of these recipes!
Update:
I've used coffee grounds and some charcoal powder to stain multicultural peg dolls.
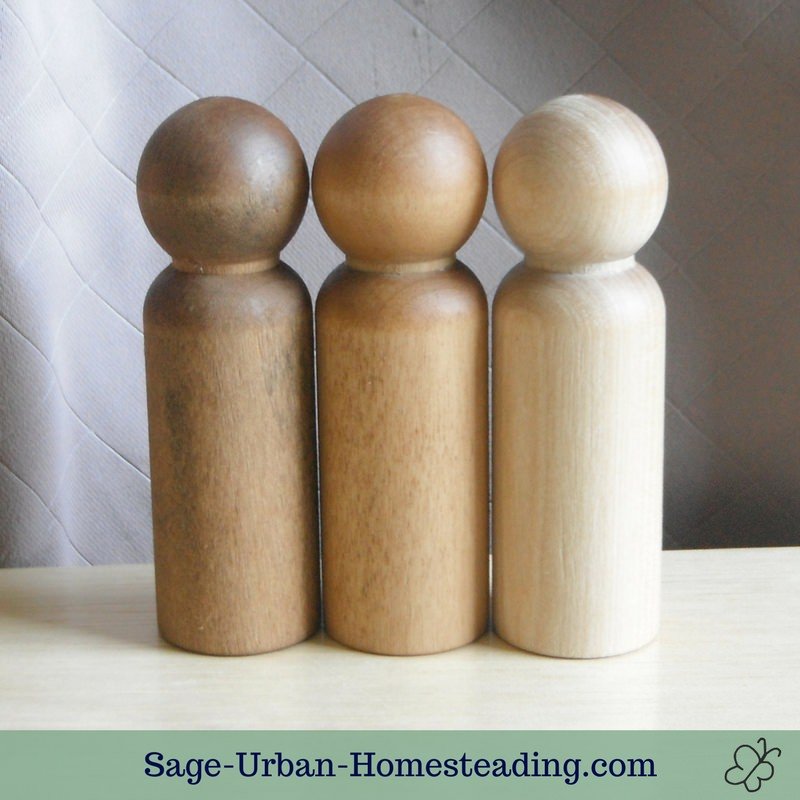 Left to right: coffee ground stain covered with a little rub of charcoal powder, straight coffee ground stain of 2 coats, plain wood
They turned out really nice! I've dressed them up as gnomes for our kindergarten stories. Gnomes need cultural diversity, too.
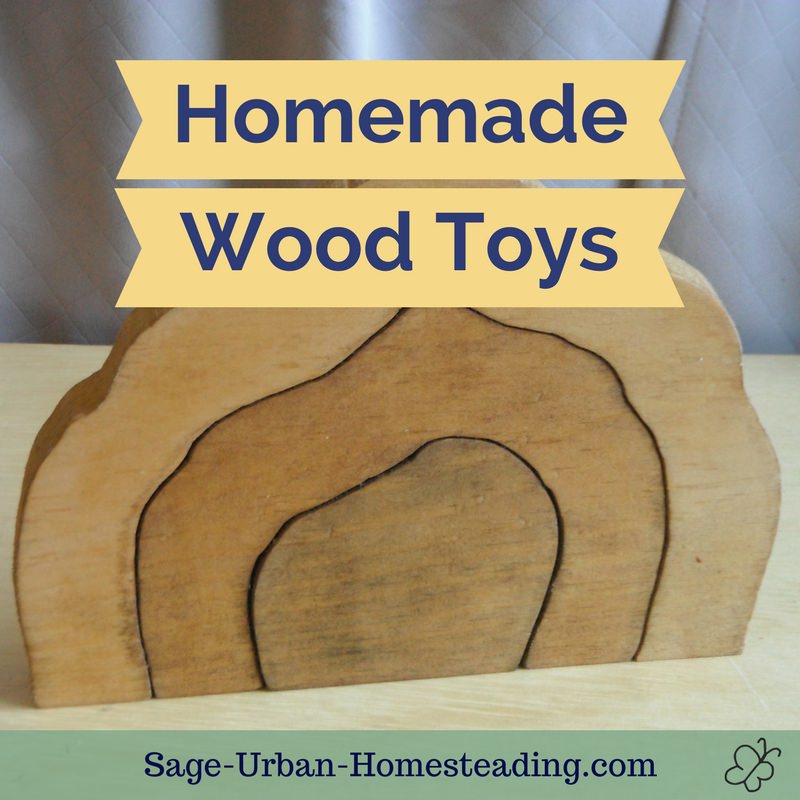
I used the same stains on a homemade wooden stacker that's supposed to look like a cave.
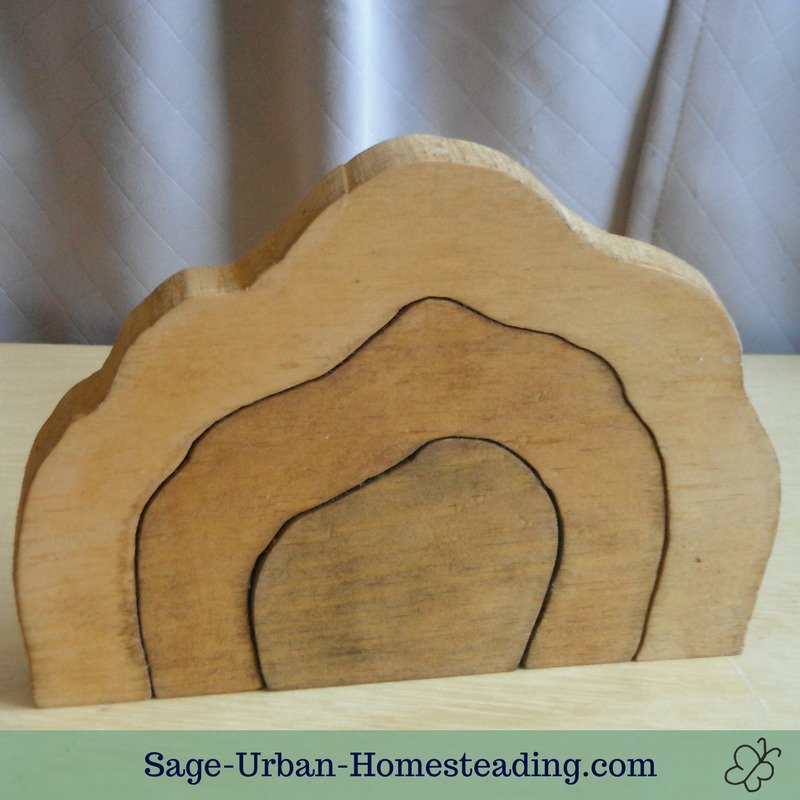 Outer to inner: plain wood, coffee ground stain of 2 coats, coffee ground stain plus a rub of some charcoal powder
This was a really ambitious project for me. I used a coping saw to handsaw a design I penciled on the wood. I had to line it up carefully with the wood grains so it would be sturdy. I had to do a lot of sanding to get the pieces to slide in and out of the interlock smoothly.
I'm really happy with the results of our homemade wood toys!
