FYI: I earn a small commission from some links and advertisements.
How to Make a Quilt
Learning how to make a quilt is an adventure you can do from home. It's a great activity to practice math skills and explore the elements of design.
For beginners or those curious about the process of how to make a quilt, I offer a simple explanation so you can see how to get started.
There are many different styes of quilts, so I'm going to generalize here in describing the steps for quilt making. There are a variety of ways to do each step. What's the saying? Ask 10 quilters how to make a quilt and you'll get 10 different answers.
Designing a Quilt
A quilt might need to be a certain size to fit on a bed or to be a pillow or table runner. Quilts used as wall hangings come in all sizes.
Many quilters follow a pattern designed by someone else so that the mathematical calculations are already done for you, but playing around with shapes and color theory is really fun for some of us.
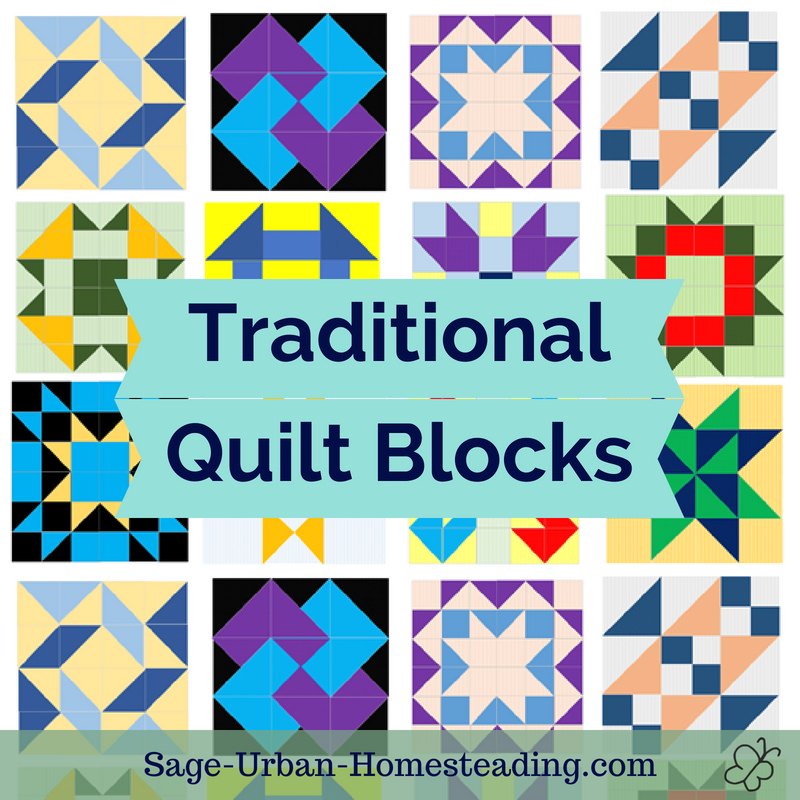
I thought it was so much fun that I made a file of traditional quilt block designs to play with and color.
If you want to study how colors interact, I highly recommend the books on color theory in quilting and the amazing Color Tool.
Remember to add a label to the back of your quilt or as part of the design on the front so that people will know who made it and when.
Piecing
The next step is to choose your fabric. You can buy yardage or fat quarters, which are a rectangular quarter of a yard. These are then trimmed to be the right size and shape for your quilt pattern. Or you can buy precut squares or strips.
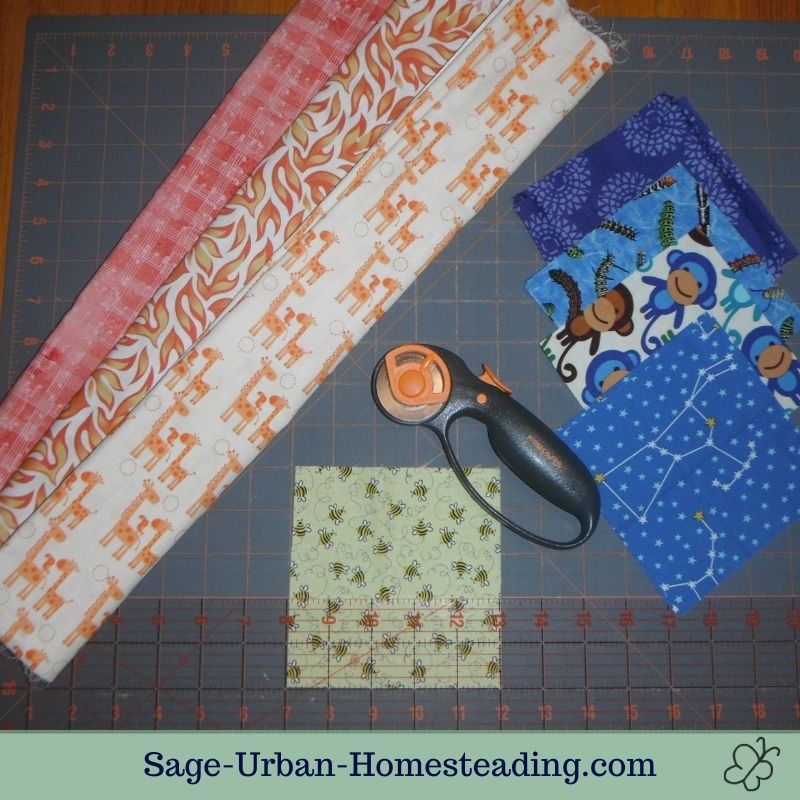
If you are cutting fabric yourself, most people use a rotary cutter and cutting mat with a ruler or templates. These tools make it very easy to measure and cut accurately, but sharp scissors also work. For really fancy cutting, there are now laser cutting machines available.
Now the fabric is ready for hand sewing or machine sewing. Some people quilt using a serger, but then any mistakes are more difficult to remove. The pieces of fabric must be joined carefully so that the corners of the shapes are aligned and nothing is cropped.
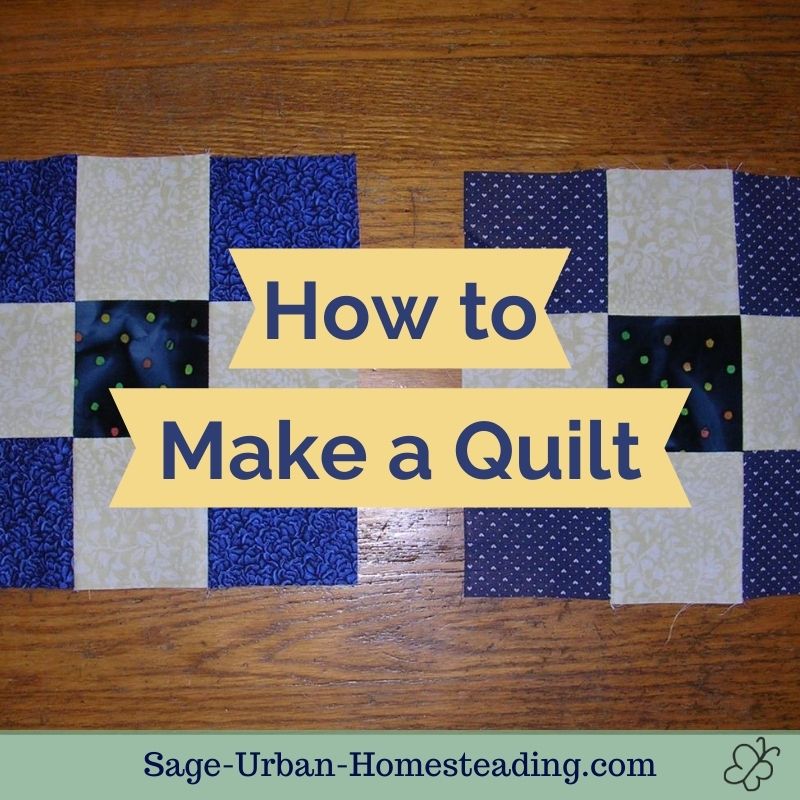
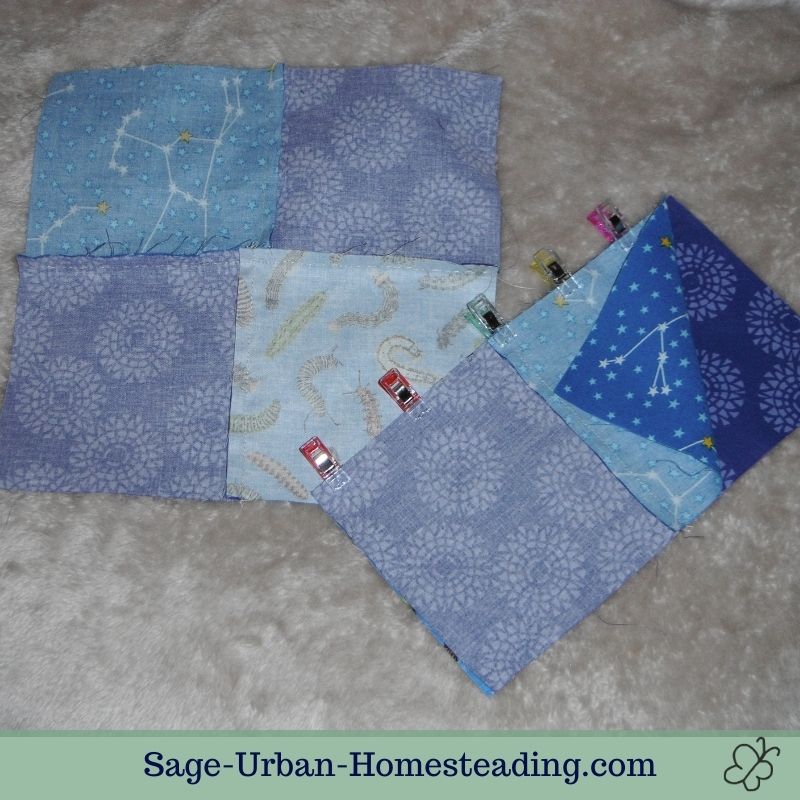 Place right sides together then sew a quarter inch seam. I like to use plastic clips instead of pins. I assure you my squares are lined up on the right side -- it looks off in the back due to the seam allowances.
The goal of this phase is to end up with a quilt top which is the top layer of fabric for the entire quilt.... unless you are doing "quilt as you go." I said there are different ways of doing things, right?
Quilting
The actual process of quilting is sewing together 3 layers:
- the quilt top, which is the part with the design
- the batting, which is the fluffy warm stuff inside
- the backing, which can be plain or jazzed up but is not as fancy as the front or top
For hand quilting, you can do simple tying of knots spaced throughout the quilt. I remember doing this on a Girl Scout group quilting project. It's good for kids. I also remember doing it on some quick quilts I helped a friend make as a charity project where the quilts were going to be shipped overseas for families to hang to insulate their houses. It's very quick to do!
The traditional way of hand quilting was to have the quilt on a big frame and gather the ladies and girls of the community for a quilting bee to all sew it up together as a social event. Some guilds still do this or people can use a frame at home, but it takes a long time to do it all by hand by yourself.
For machine quilting, you run into the problem of not being able to fit all those layers of material in a home sewing machine. A longarm sewing machine is a special machine that is used for quilting. If you don't have one, you can pay someone with such a machine to do the quilting for you, or when you are choosing a pattern you can look for one that is suitable to quilt as you go.
For quilt as you go (QAYG), there are a couple of options. I really like the advice on how to make a quilt in the book Quilt As-You-Go Made Vintage. On the project in the photos I'm using method 1 from this book.
Binding
Are we there yet? Not quite. Now you need to finish the edges by binding the layers all together.
While you can just fold over the edge, quilters typically use bias tape. It is not actually tape. It is fabric strips cut on the bias or diagonal of woven fabric so that it has a little natural stretch without adding any elastic. The stretch allows the tape to go around curves more smoothly.
Attach bias tape by sewing along one edge and the quilt top, then fold over and whipstitch it to the backing by hand. I will add a photo here when I get to this step in my current project.
One special skill with quilt binding is how to make mitered corners. You have to fold the binding a certain way. Again, check back for photos... I had better get busy sewing!
Sample Project Timeline for How to Make a Quilt
As an example for those learning how to make a quilt, here are the steps I am going through to make a quilted blanket.
- I figured out that for the toddler blanket I want to make, I want the finished quilt to be a 6x8 rectangle of 4-1/2" squares, so I will be sewing with 5" squares of fabric.
- I worked out a simple design on graph paper and played with colored pencils to figure out the color scheme.
- I shopped for fabric that would match my desired colors and have interesting prints since it's an I Spy quilt. You can find some leftover quilting scraps available for sale in my Little Stash Shop on Etsy.
- I cut my fabric into squares. (See the photo above under "Piecing.")
- I laid out the squares as they are supposed to go in the quilt. Since it is 6 blocks across, I divided that into 3 columns and went down each column laying the right block folded over on the left block.
- I stacked all of these pairs so I had a stack ready to run through the sewing machine stitching down each right side with a 1/4" seam allowance.
- Then I laid out the entire quilt again and arranged the squares into larger 4 squares that I sewed across.
- This was a quilt as you go top, so I cut batting for those larger squares and quilted it together. Most of it was quilted by hand due to the minky bits. I actually broke the sewing machine on some minky when I first tried and had to pay to have it re-aligned. Ugh.
- I used my (repaired!) sewing machine to join all of my larger quilted squares into the full blanket.
- Instead of bias tape around the edge, I used a satin ribbon type of edge like you sometimes find on blankets. I actually sewed it inside the seam with the minky backing so the entire blanket was inside out. I turned it through a hole and handstiched that shut. The ribbon corners aren't great, but it'll do. I added some fun taggy ribbons on the back, too.
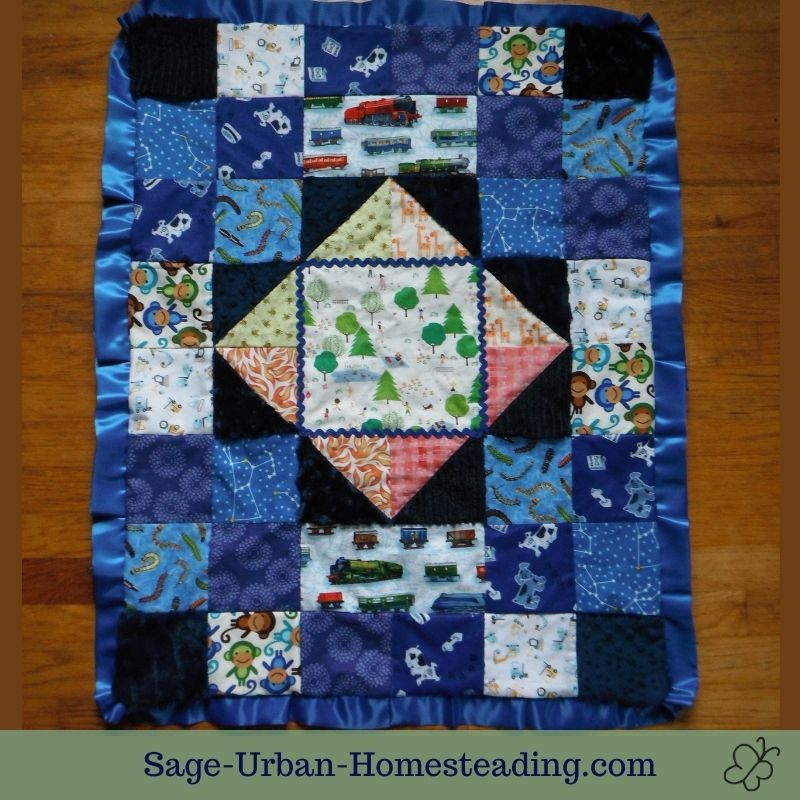
And here is a photo of the quilt I made!
I used a sewing machine and hand sewing. It was quilt as you go. I added rik-rack around the center to make it pop and add some texture. Also, all of the dark navy spots are minky in 4 different textures.
In case you don't know that this "minky" stuff is that I keep referring to, it's a fuzzy fabric commonly used on things for babies and young children. And there's a reason you don't see it in quilts very often -- it's a pain to work with! Fuzzies everywhere, machine put out of alignment, adding extra seam allowance because it slips and slides as you sew it... I did it, but I would advise everyone else to think twice, and beginners just learning how to make a quilt should definitely steer clear of using minky unless it's just a big piece for the backing.
It was worth it though. The little boy loves fuzzy blankets and pillows, and he was very happy to receive this handmade gift.
