FYI: I earn a small commission from some links and advertisements.
How to Make Window Quilts
Homemade window quilts are a great way to add insulation and keep bedrooms dark at night, especially if you have an urban homestead with some bright streetlamps outside.
Everyone wants to save some money on winter heating bills, right?
It's also really important to me that we sleep in the dark. You need darkness at night for proper hormone production to really get a good night of sleep.
Our First Window Quilts
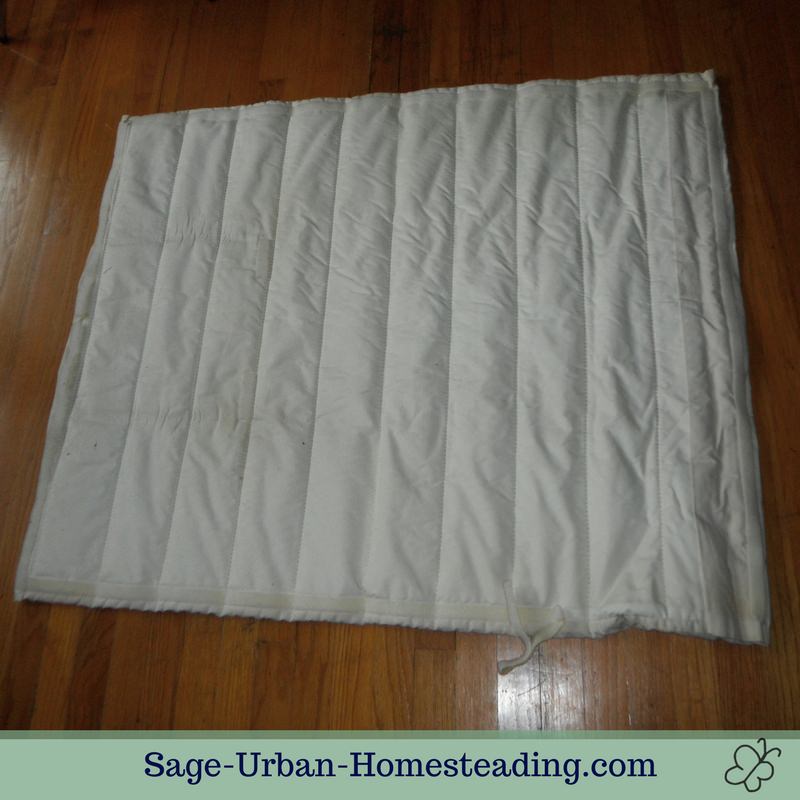
When we got married, I bought some special window quilt material. It came with multiple layers, including batting for insulation, an inner reflective layer that helped provide opacity for darkness, and a canvas layer towards the window.
These layers were already quilted together in long lines. I had to cut the material to the right size to fit my windows.
I also had to buy a roll of muslin to add a top layer for the side that would face our rooms. I got fancy and decorated it with stars. I had to stitch it all together.
I also had to buy a roll of muslin to add a top layer for the side that would face our rooms. I got fancy and decorated it with stars. I had to stitch it all together.
Then I used sticky backed Velcro tape all around the window frames and my quilts for a nice tight seal.
They worked great for keeping the rooms insulated and dark at night, but there were a couple of problems.
Problems with the First Version
- The Velcro to hold them up rolled up during the day only lasted a couple of months. We solved this with two little hooks and loops of string after months of trying every type of glue. We love how well the hooks and string work.
- After a couple of years, the Velcro started coming off around the seal at the window edge, both on the windows and on the covers, especially where tugged a lot by little hands. So they were no longer totally sealing out the cold, but they still helped.
- After 7 years, they started developing some mold and mildew issues. Due to the reflective layer, the window covers were not washable. They were wet a lot in the fall when the windows developed condensation during the night but the heat wasn't coming on yet to help dry them out.
So we had to replace them, but I no longer had the time or energy to take over the living room for days spreading out materials, cutting, and sewing. We needed a quicker (and ideally cheaper) way to get the results we wanted.
Quick and Easy Window Covers
We came up with a new and improved version using materials that are easier to obtain and easier to replace when needed. And MUCH quicker to make!
Materials
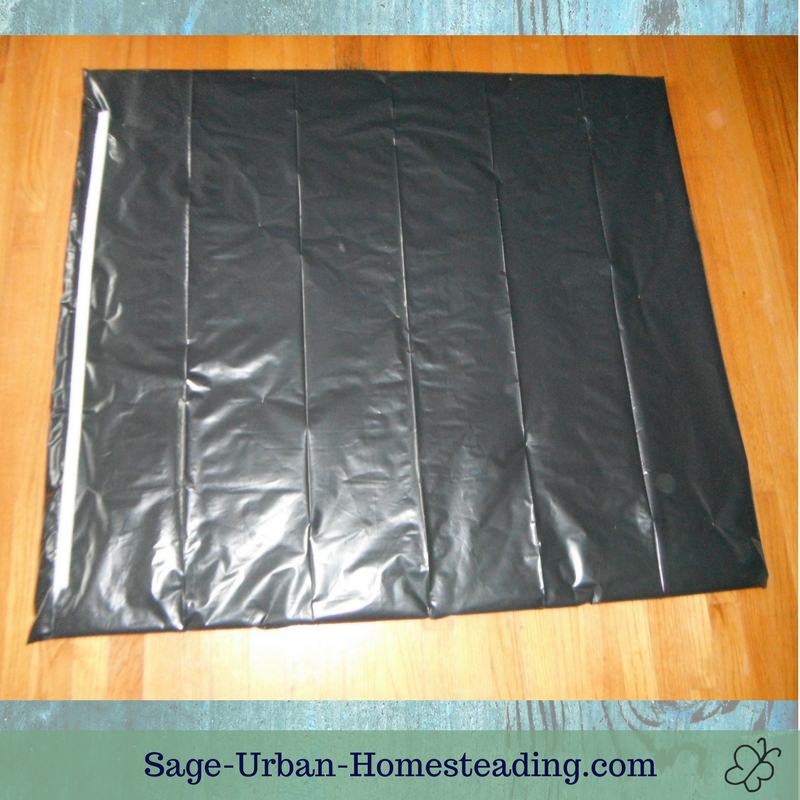
1 black garbage bag large enough to cover your window
thick quilt batting (1" or whatever suits you) large enough to cover your window
straight stick or dowel long enough for the bottom of the window
measuring tape
scissors
needle
thread
duct tape
sticky backed Velcro (I used this)
2 small screw in hooks
2 lengths of string tied into loops
These covers use the hooks and string loops from our first window quilts. They only use the Velcro at the top of the window.
Unlike the window quilts which set into the window and sealed, these are larger at the bottom and sides to overlap the window trim. It seals it somewhat and keeps them away from the wet glass where condensation builds up.
How to Make Warm Window Covers
- Measure the size of the window you want to cover. For the horizontal measurement, I included the window trim. For the vertical measurement, I measured from the top of the Velcro boarder we had stuck along the top of the window down to include the bottom window trim.
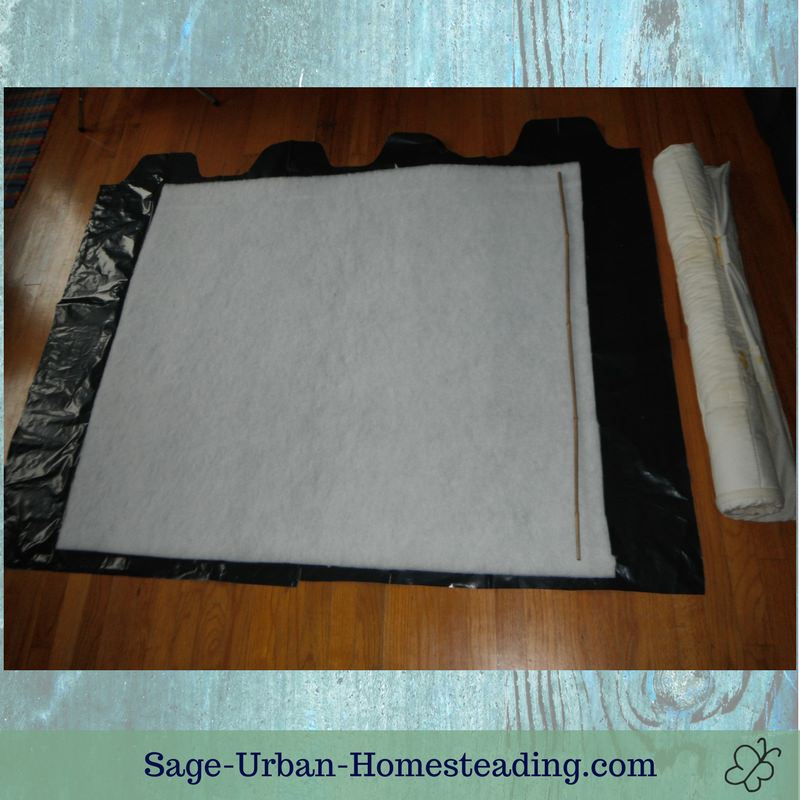
- Cut a black garbage bag down the seam at one side and along the bottom. Spread it out on the floor or a gigantic table.
- Cut the quilt batting down to the right size to fit your window. It's ok if it's a little larger than what you measured, but don't make it too small. Lay it on top of the cut bag.
- Lay the stick on the edge that will be the window bottom. This helps add some weight so the bottom hangs down instead of curling.
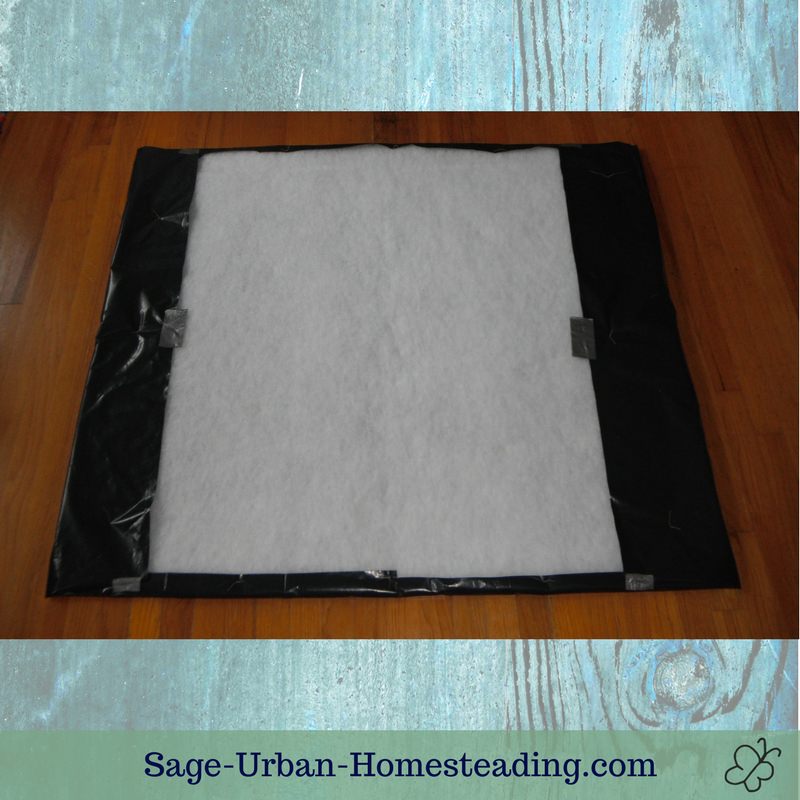
- Fold the edges of the bag over without folding the batting. Use the duct tape to hold them in place. It will wear off and cannot hold it all together permanently, but it's useful for keeping things together for the next step.
- Use a needle and thread to tack all the layers together, just like you can tack a quilt. Basically, you put it through and tie a knot. I did three knots along each edge and 5 spaced out in the center.
- Flip over the window cover so the all black side is up.
- Measure where the Velcro is at the top of the window and center that at the top of the cover. Apply a sticky strip to the cover. I used the hard side of the Velcro on our windows and the soft side on our quilts and covers, but I don't think it matters which way.
Installation of the Window Quilts
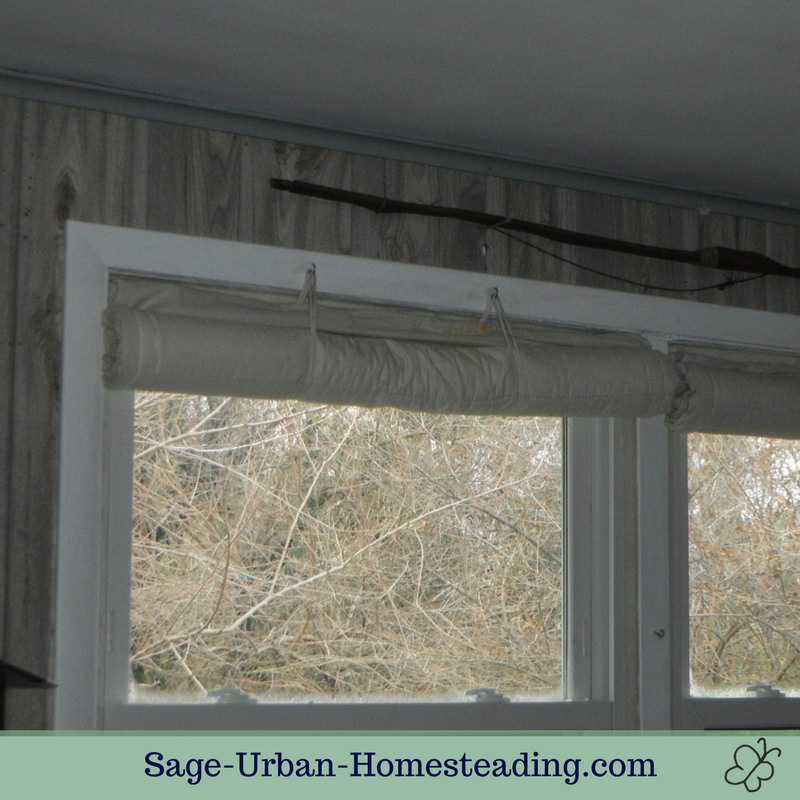
Screw the two hooks into the window trim at the top and hang a loop of string on each. The string remains tied in a permanent loop so it folds around the rolled up cover and you see four lines of string holding it.
Have the loops hanging down when you stick your window cover on the Velcro at the top so the loops are towards the glass.
We love our new homemade window shades. If you try making some, please let me know and share your results below!
Version 3: Fleece Window Quilts
The quick plastic versions were in serious need of replacement after 3 years. A couple of holes had developed. The batting fuzz was getting pulled along the edges. And most annoying, the plastic was noisy when rolled up in the morning.
Time for another improved version!
What would be washable, quiet, and dark? Fleece!
I reused the batting from the plastic version as the filling to keep them warm. This added some pressure because it meant I needed to have them down and totally sewed up and finished all in one day so we could continue to sleep in the dark.
How to Make Washable Fleece Window Covers
- Measure the opening you want to cover. Trim the quilt batting to fit.
- Lay a big piece of fleece under and over the batting to make a sandwich.
- Tack all of the layers together by using a needle and thread to tie knots here and there. This keeps the layers from shifting as you sew.
- Use clips to hold the edges in place.
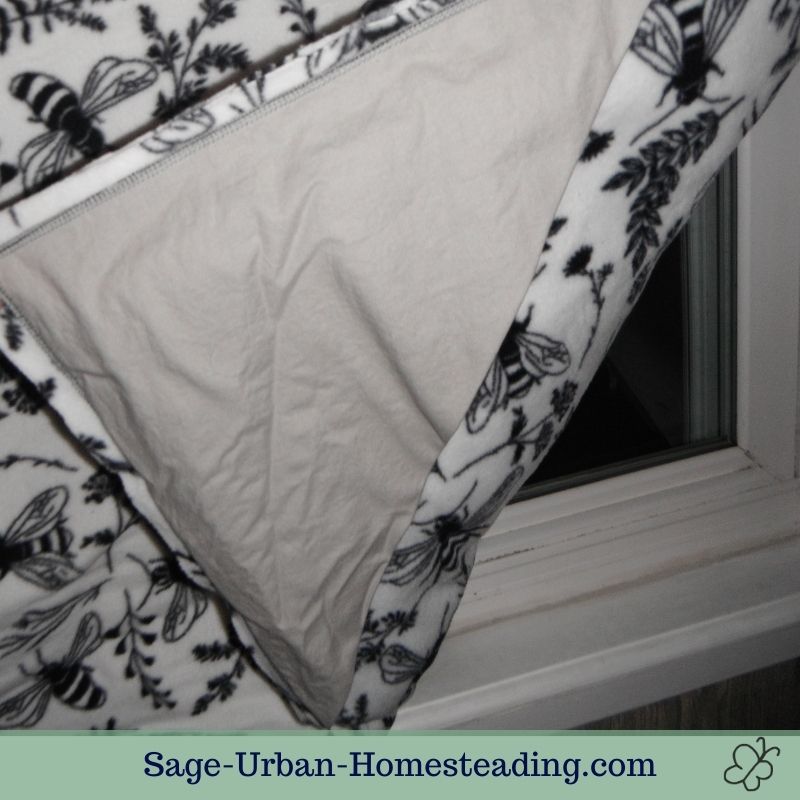
- Sew along the edges, not on the batting, just the two layers of fleece at the edge. You don't need to worry about folding and can leave fleece edges raw. Note I also stuck my pockets in as I did this (see below about how to hang).
- Up the stitch length to 4 and carefully quilt a few lines to hold it all together so it won't shift in the washing machine.
How to Hang Window Quilts
Now how to hang these without the annoying hook and loop that never stayed?
Triangular pockets!
Measure the width of the window and take the measurement of one third. Make a square using that measurement and surge it into a triangle. I used these triangles to help square things up when I sewed the edges.
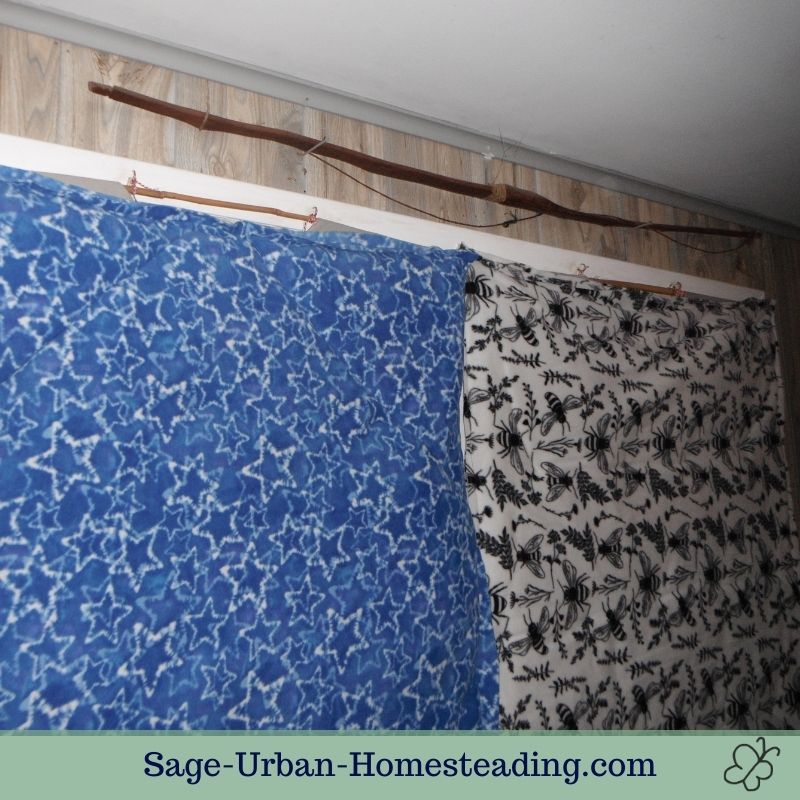
A stick goes across the top and is tied to the hooks above the window.
The white one does not block light as well as the others I made using black and blue. I used a different print on each window. We had to have the bee one since we love our honeybees!
How well do window quilts work?
We've been using window quilts for many years and always felt that they made a difference, but we never tested. I we finally bought a thermal imaging camera to use with our freeze drier, so of course I used it to check out how well the window quilts insulated our room.
I had to take the images on a cold evening in January. Here is a side by side comparison of our bedroom window with the window cover (version 3 made of fleece) rolled down and with the window cover rolled up.
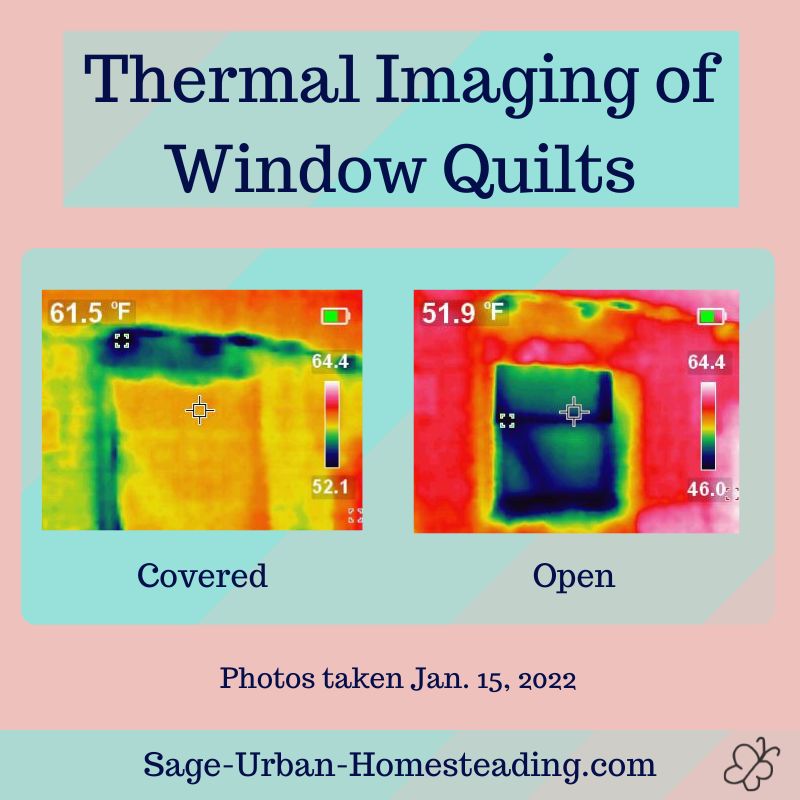
The images show the average temperature of the surfaces in the area in the upper left. The scale on the right shows the high and low range. By color, both images show the coldest areas in a dark blue.
Insulation Results
You can see that the uncovered window is significantly colder. You can also see that our insulation inside the wall above the window has some gaps at the roofline that create the coldest areas when the window is covered and show up as green spots when it is uncovered.
We'll work on fixing those, and we'll definitely keep using our warm window quilts!
