FYI: I earn a small commission from some links and advertisements.
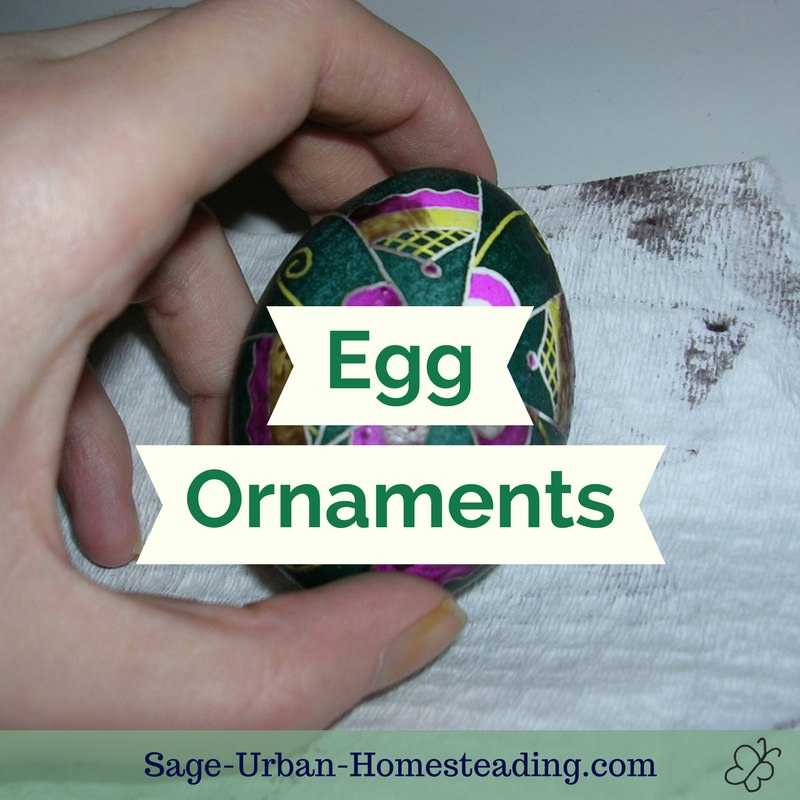
Egg Ornaments
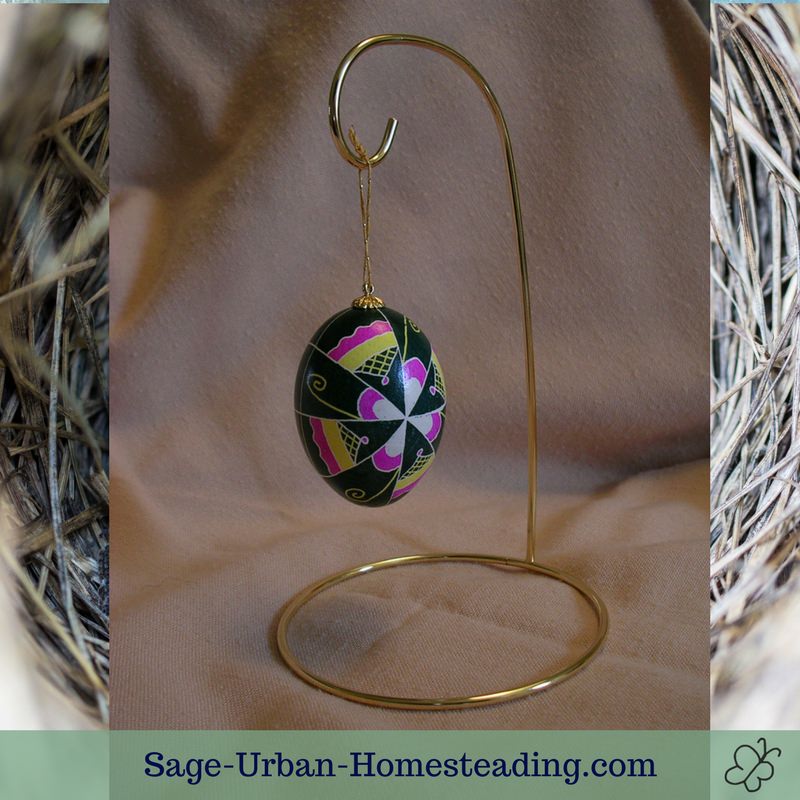
I began my business by selling handmade batik egg ornaments at local farmer's markets and craft shows, as longtime fans of ALC Unlimited will remember.
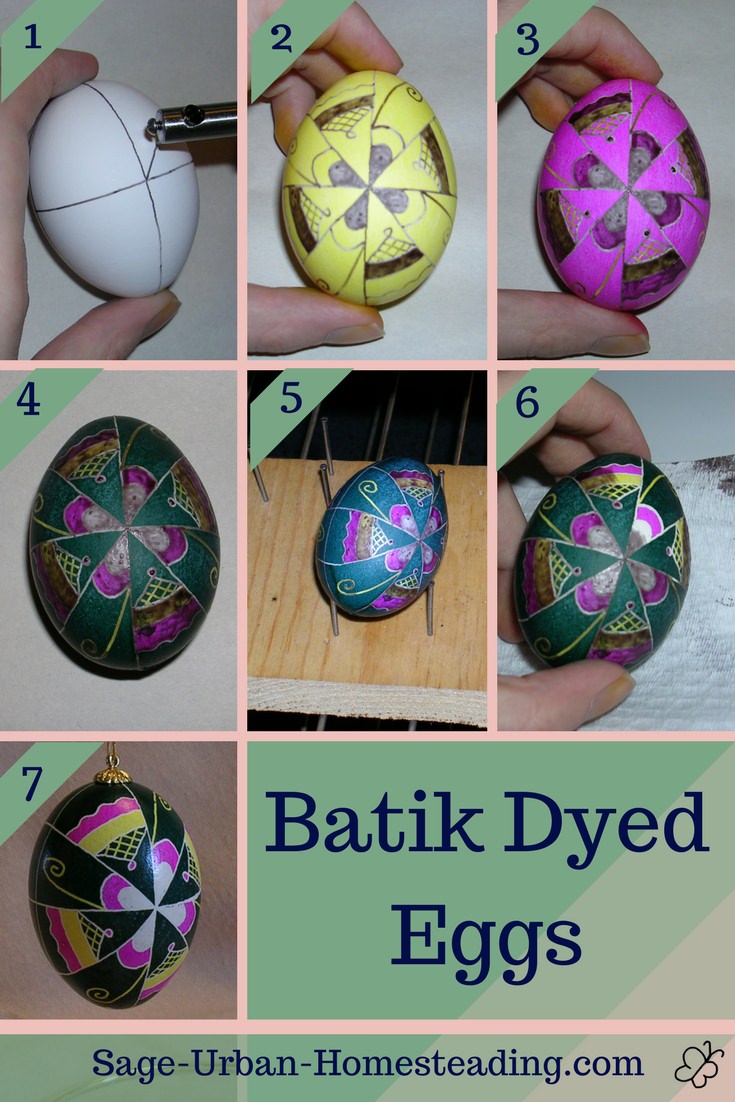
Here are the photos and steps in case anyone finds it useful or interesting.
How to Make Egg Ornaments
ALC Unlimited eggs were real chicken eggs that were batik-dyed by using hot wax to cover areas before switching to the next color of dye.
All of the egg ornaments were handmade by me using the traditional wax resistance method; however, I did use a modern electric kistka.
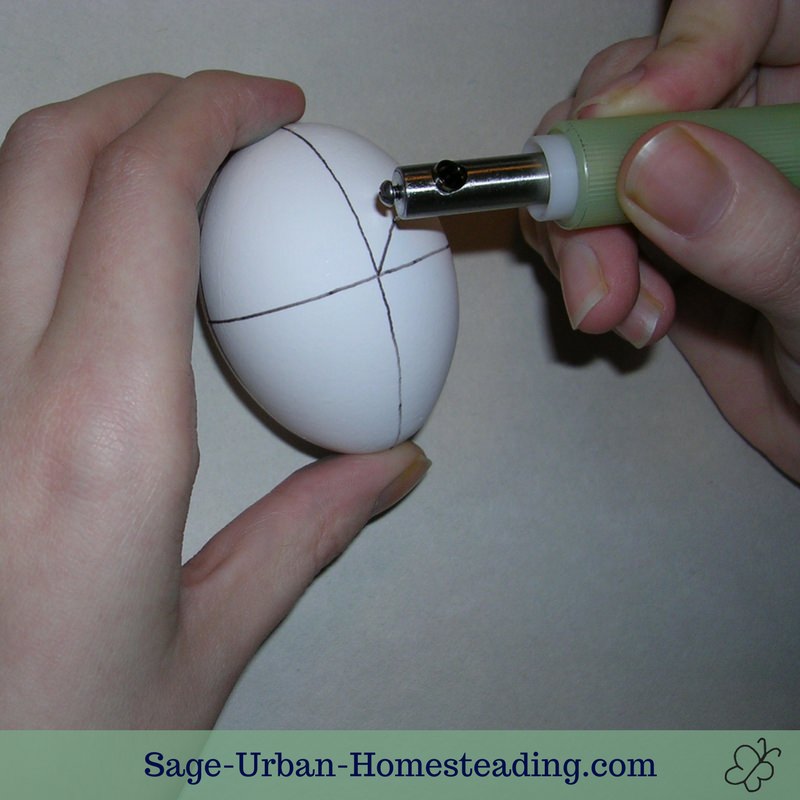
I first learned using a traditional kistka, which is the tiny funnel to hold beeswax. That kind needed to be heated in the flame of a candle. When I started making lots of eggs to sell, I invested in an electric kistka which you see in the photo.
The beeswax turns black but still translucent when it is heated to a certain point.
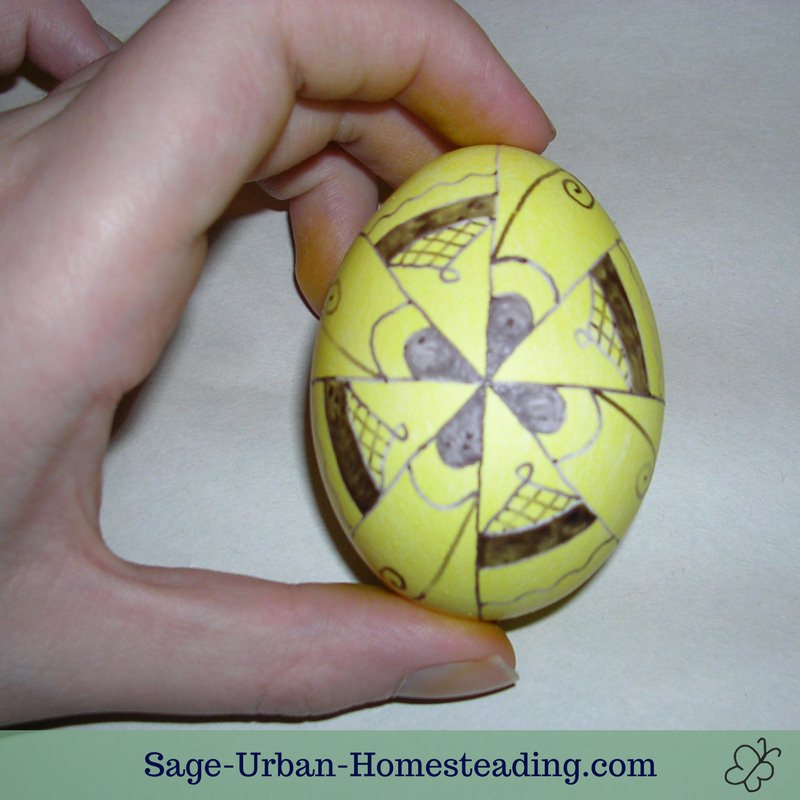
After everything that I wanted to remain white was covered in beeswax, I dyed the egg in a yellow dye bath. I then used hot wax to cover everything I wanted to stay yellow.
I dyed it all pink, and covered what I wanted to stay pink.
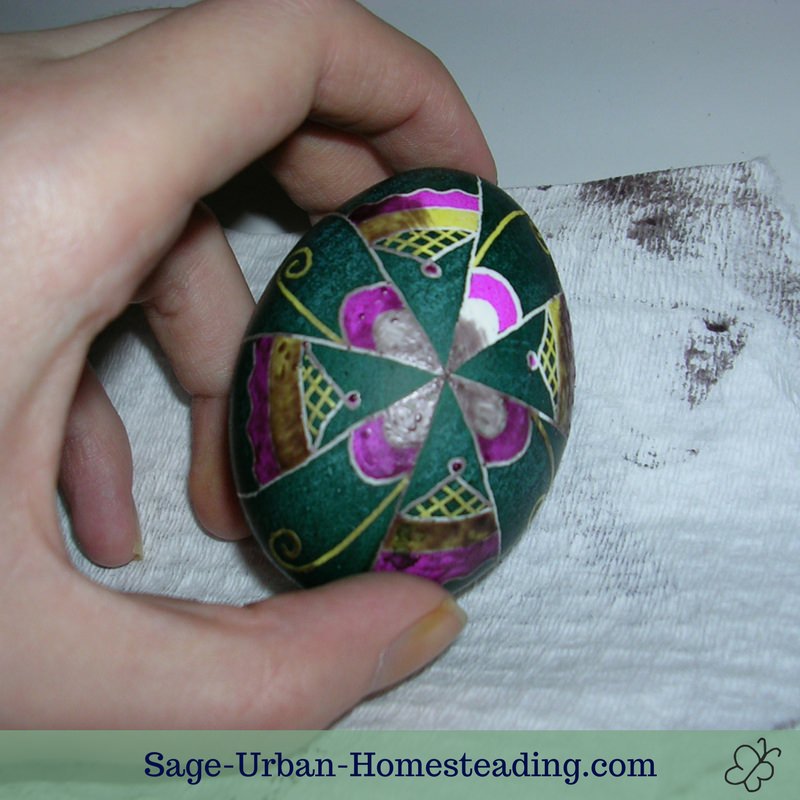
Finally it was ready for a final dye of dark green.
The colors for dyeing need to go from lightest to darkest for the best results, so if you see a very white or yellow egg, you know it used a lot of wax!
Once the egg ornament was dry, it was time to clean off the wax.
I had a special rack of nails to sit the eggs on inside a warm oven just until the wax looked shiny. Then it was time to wipe it off.
My favorite part of the process was wiping off the wax at the end to see all of the colorful lines underneath.
The eggs were then varnished and a finding was glued on to turn the egg into a hanging ornament.
Eggs could be decorated as a unique gift for any occasion: Easter, Christmas, birthday, wedding, anniversary... The possibilities are unlimited!
Steps
Here is a description of the step by step process for making the ornaments:
- I start with a chicken egg that has been blown, so it is just an empty shell with a small hole on the end. I use a tool called a "kistka" to apply hot beeswax. First, I divide the egg into sections.
- Then I use the wax to cover all of the areas I want to stay white before I dye the egg yellow.
- The wax protects the white areas from becoming yellow in the yellow dye. Now I cover all of the areas I want to stay yellow before I dye the egg pink.
- The parts of the final design that will be white and yellow are already covered with wax. Now I cover the areas I want to stay pink.
- The egg is now ready for the final dye. I dye it dark green. This will be the background color.
- It's time for the most exciting part -- melting the wax! I melt the wax off the egg to reveal my beautiful designs.
I used to have these steps and photos displayed on a board at my sales table.
Thank you for your support over the years!
I don't decorate eggs anymore at this time, too busy tending the garden and raising a family.
If you were fortunate enough to get an ALC original, remember there is a small butterfly hidden somewhere in the design.
