FYI: I earn a small commission from some links and advertisements.
- Home
- Urban Farming and Gardening
- How to Start Seeds
How to Start Seeds
Give your garden a head start by learning how to start seeds indoors before the last frost date. Seeing them germinate and sprout gives me hope that the growing season will soon be underway!
Why not use colorful pots from the Bootstrap Farmer to bring joy? (not an affiliate) I love to use colored pots instead of the boring black you find in most garden centers. But the seedlings don't care as long as you provide good growing conditions.
Benefits of Seed Starting
It's not safe to put frost tender plants outside before the last frost date. They could die or become stunted.
But to take full advantage of the growing season, you do want to get them out and growing strong as soon as you can.
Starting seeds indoors also gets them big and strong without the competition from weeds. Things that are slow to germinate can be impossible to distinguish from fast-growing weeds and never even have a chance to get started before a weed crowds it out by taking all of the light and water.
How to Start Seeds
Seed packets will often advise how many weeks before the last frost date. They might also advise on the ideal temperature, planting depth, and seed spacing for that type of plant. Some types of beans and melons advise soaking in water overnight before planting.
A lot of native plants and some other perennials like lavender require a cold period in order to have better germination, while others like tomatoes and peppers will not sprout unless the soil is very warm. It's good to do some research on what you are trying to grow so that you can give it optimal conditions.
1. Prepare the pots and soil
Use a plug tray or small pots suitable for the type of plant you are starting. Some people use a soil blocker instead of pots. I prefer to use small air pruning pots with a mix of Fort-Vee organic potting soil, organic worm castings, and just enough water to hold it together. You can sift the potting soil through 1/4 inch hardware cloth before adding water if there are too many sticks and lumps.
The soil should not be smushed in too tight and compact, and it should also not be too light and fluffy or it will lose a lot of volume the first time you water it. Strive for neither too compact nor too loose but "just right."
2. Plant the seeds
Use your pinky finger or eraser end of a pencil to poke a small hole. In general, a seed should be planted a hole 2 or 3 times deep as the seed is big, but usually there is guidance on the back of your seed packet. Gently place a seed or two in each hole and brush some soil back over the top to cover it up. Some seeds are sensitive to light such as nasturtiums, so be extra careful to cover those.
Add a label with the name and date so you remember what you planted and when. I just use a piece of masking tape on the pot or tray.
3. Give them appropriate growing conditions
Some seeds like it warm and can benefit from a heat mat. Some like it humid and can benefit from a small plastic dome over the pots. The optimal moisture level is usually damp, but not swimming.
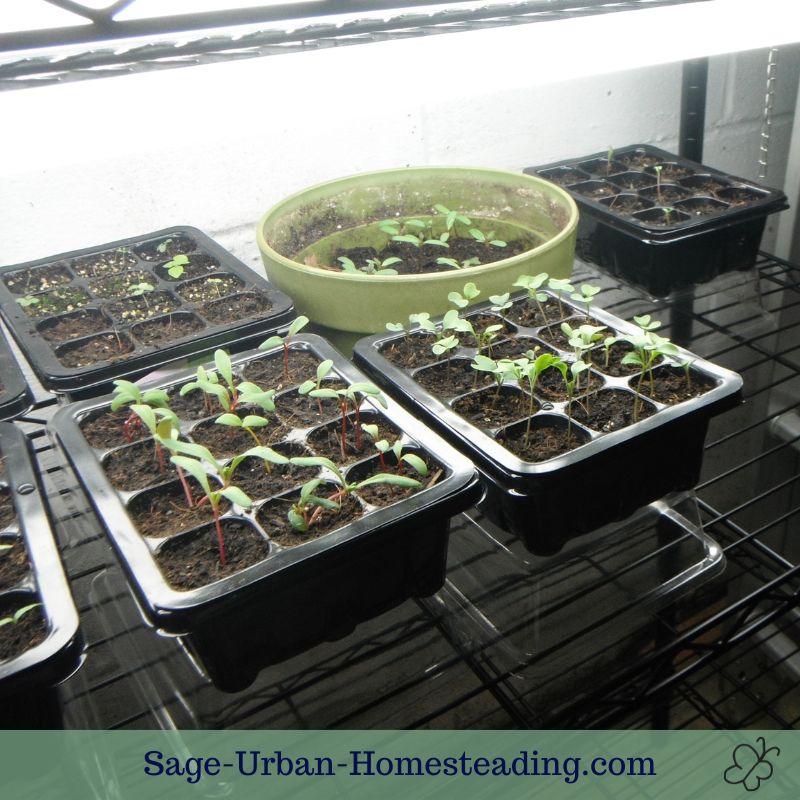
Plants might be able to start on a sunny windowsill, but they most likely need a little more help to get strong enough to harden off and transplant outside. We use an arrangement of indoor grow lights and fans on timers.
Please note that some types of plants such as carrots and sunflowers prefer to be directly sown in the ground and not started in pots.
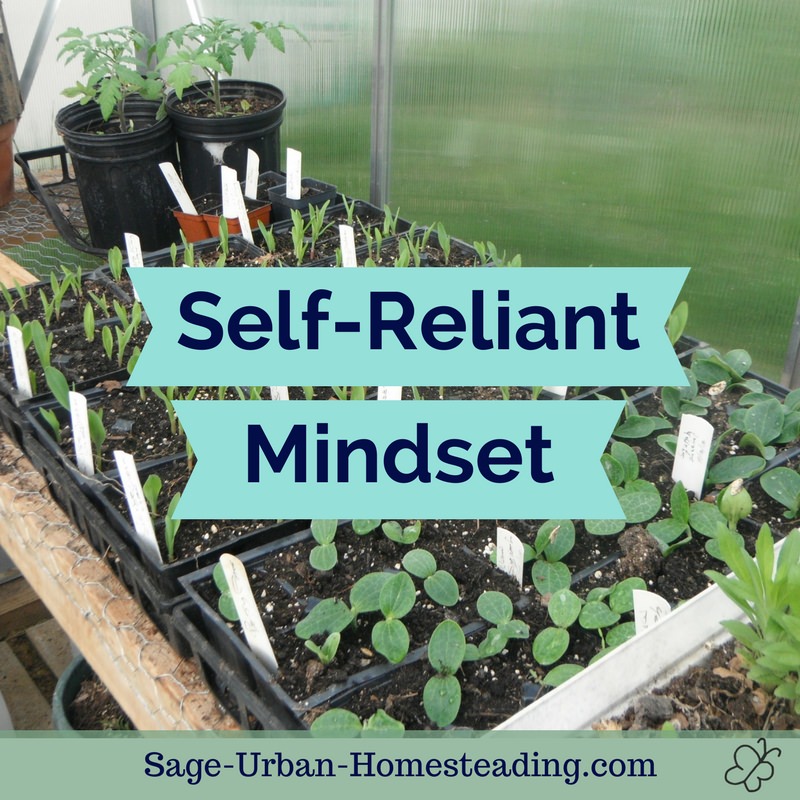
Don't you need a greenhouse?
We had a small greenhouse for a couple of years, but we found it was only useful for a narrow window of time before it became too hot. Our climate is zone 7B and very humid. Our tiny greenhouse had poor ventilation.
Also, the wasps enjoyed building in the corner above the door every summer.
After having the panels blow out during a couple of wind storms and climbing over fences to get them back a few too many times, we decided to retire the greenhouse and pass it on to someone else.
Our Indoor Grow Lights System
We currently have an adjustable 6 shelf system with LED shop light grow lights. They are cheaper than official grow lights and work well. As long as you have at least 6500K or higher and 2000 lumens or more, the lights will work.
We also have a clip-on fan on each shelf. The fans and lights each go to a separate automatic timer. I have the lights set to come on for the same amount of time that it is daylight outside. The fans come on for 30 minutes every hour and a half all day and night.
Hardening Off
It's very important to harden off plants so that they adjust to the bright sun, wind, and weather conditions that they will face outside. When the weather is warm enough and the winds are not too strong, I carry my seedlings to sit outside. I monitor them to make sure they can handle it. It's better to start slow and build up a tolerance for staying out longer each day until it is time to transplant.
Also, now that you know how to start seeds and how to harden off, be sure to sit them somewhere safe. Some pets and wildlife will see those sprouts as a tasty snack!
