FYI: I earn a small commission from some links and advertisements.
- Home
- Embroidery
- Cross Stitch Pattern Maker
Become a Cross Stitch Pattern Maker
You can be a cross stitch pattern maker and transform your photos or original artwork into cross stitch patterns. Designing your own free cross stitch design is easier than you think.

A Warning about Copyright
When you develop a chart from a pre-existing work, you are making derivative artwork.
Copyright holders own the rights to derivative artwork as well.
If you are not using your own photo or artwork, please check that what you are using is public domain.
For more information, read about the Idea-Expression divide on Wikipedia (opens in a new window).
Make a Chart
Make a chart If you are computer savvy, you can develop a chart yourself. Or there are software packages that you can buy.
Regardless, you need to select a photo or artwork with good contrast.
The process will limit the color palette, so subtle shading disappears.
Do It Yourself with a Photo Editing Program
- Use a photo or scanned artwork that is 640 x 480 pixels or larger.
- Pixilate or mosaic the cell size to 5. This editing option is usually found in the special effects area, depending on which program you use.
- Adjust the brightness and contrast to whatever looks best.
- Time to posterize! This is also normally under special effects. Choose a number to set the number of colors in the image, which translates to the number of floss colors in your chart. Something between 5 and 20 is best. The higher the number, the more details and shading you'll have.
- Open a new image file that's 5 x 5 pixels, since you used a cell size of 5 earlier. Give it a transparent background and a black foreground. Zoom in to 1600%.
- Choose a pencil tool with size 1 pixel. Draw a 1 pixel wide line up the left side and across the top. You'll repeat this image to create a grid, so you only need lines on two sides.
- Select all then define the image as a pattern. You may need to save the file to use it as a pattern, but some programs will let you just select all.
- Go back to the original photo or artwork. Fill with the pattern as your contents. It should form a black grid around the pixilated squares.
- Save your chart as a new file and print it out.
- Almost done! Now you need to calculate the floss colors. Visit this website with a DMC to RGB color conversion chart (opens in a new window). Check the RGB value of each color square in the file using your photo software, and you'll know which floss to use. You're now a DIY cross stitch pattern maker!
Photo to Cross Stitch Pattern Maker with PCStitch™
This software is compatible with Windows®. It will convert your photos to charts and makes it easy for anyone to be a cross stitch pattern maker.

The PC Stitch Cross Stitch Software, version 10 allows photo conversion, the creation of pattern libraries, and the insertion of text or borders.
In fact, this latest version comes with over 2000 individual designs and over 90 stitched alphabets! And you can easily print a reverse image of your designs to use with transfer paper for creating stamped cross stitch or needlepoint projects.
Whichever method you use, you'll soon become a cross stitch pattern maker so can design your own projects!
More to Explore


FYI: I earn a small commission from some links and advertisements.
Recent Articles
-
Angora Yarn from Rabbits
Feb 20, 24 09:54 PM
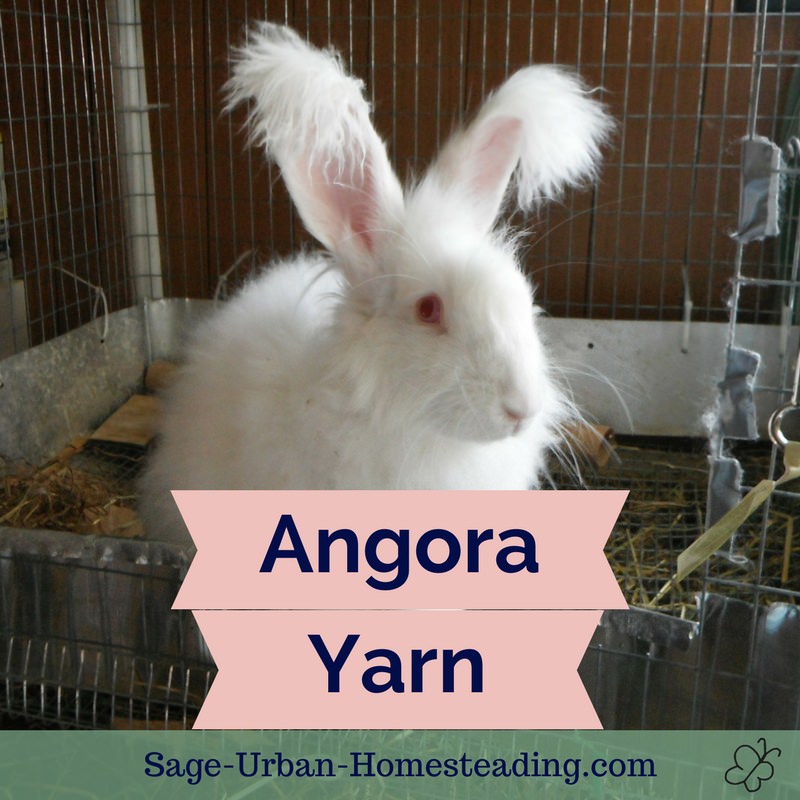 The fiber produced by angora rabbits can be used to make a soft, luxurious angora yarn. It can be used to make warm angora sweaters and other accessories.
 -
Dutch Oven Cooking
Feb 14, 24 08:57 AM
 Learn how to buy the right pot for Dutch oven cooking at home or for campfire cooking.
 -
Crochet Sweater Patterns
Jan 03, 24 09:39 PM
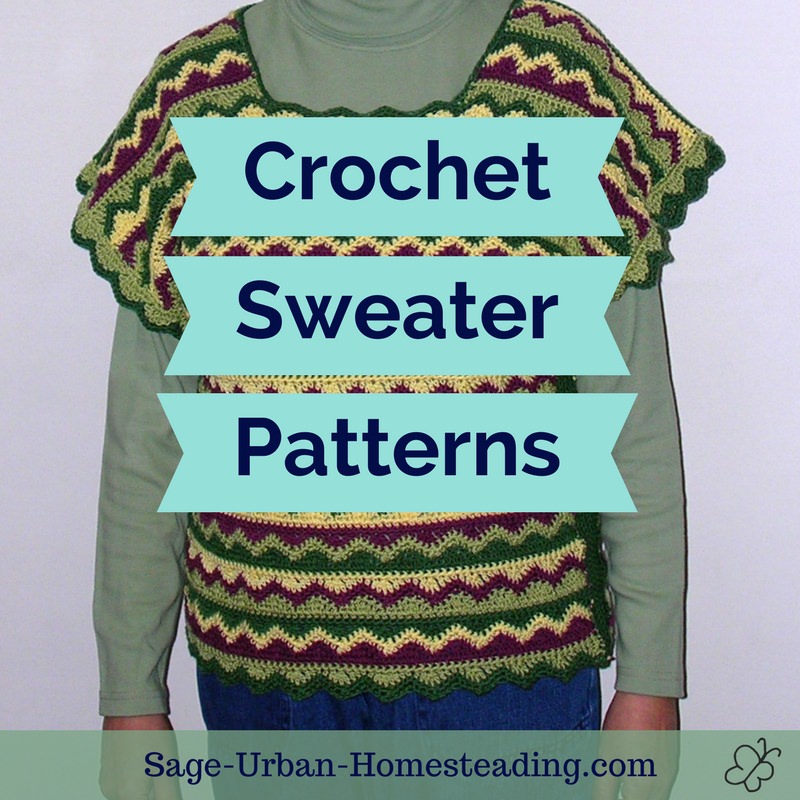 Find the best crochet sweater patterns to learn how to crochet and make yourself a crochet vest or sweater.
Sign Up for Free Updates

More Information
Disclosure
All information found on this website is editorial in nature and intended to motivate and inspire rather than be used as medical advice.
I am an Amazon Affiliate and use Google Ads and cookies as described in the Privacy Policy.
Thank you for your support!
By Amy DeVries, Copyright © 2011-2024 Sage-Urban-Homesteading.com All rights reserved.