FYI: I earn a small commission from some links and advertisements.
- Home
- Embroidery
- Crazy Quilts
Crazy Quilt Embroidery for Crazy Quilting
I was first introduced to crazy quilt embroidery by my great-grandmother. She passed away when I was only a few months old, but I can learn about crazy quilting by examining the work she left behind.
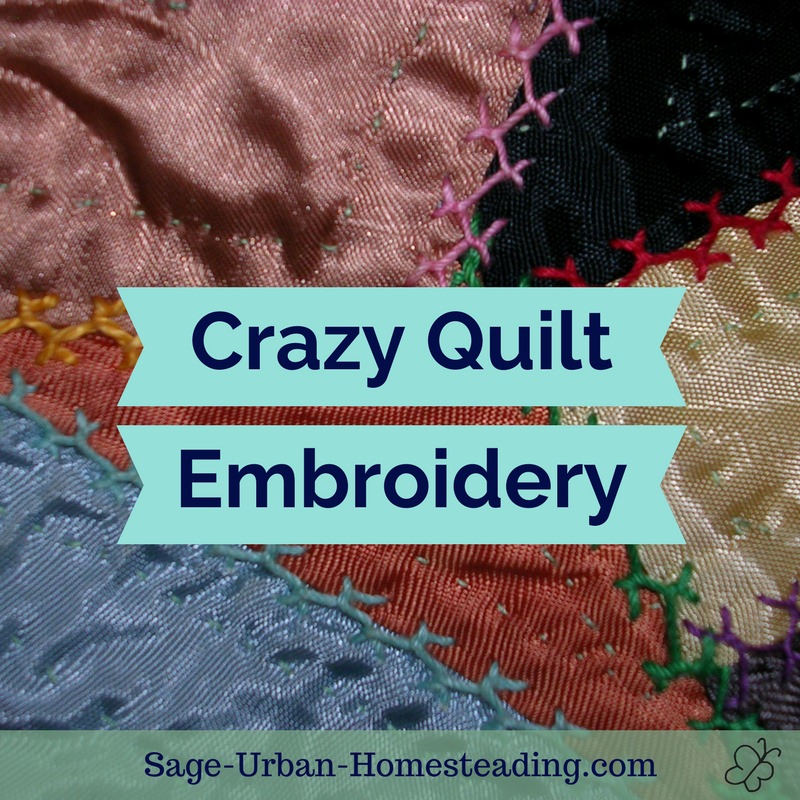
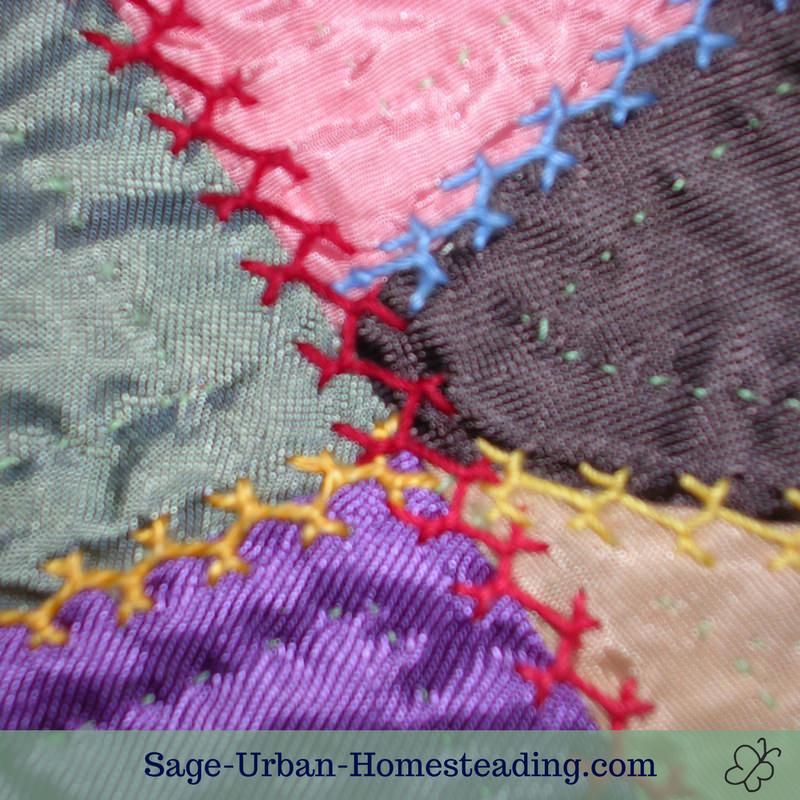
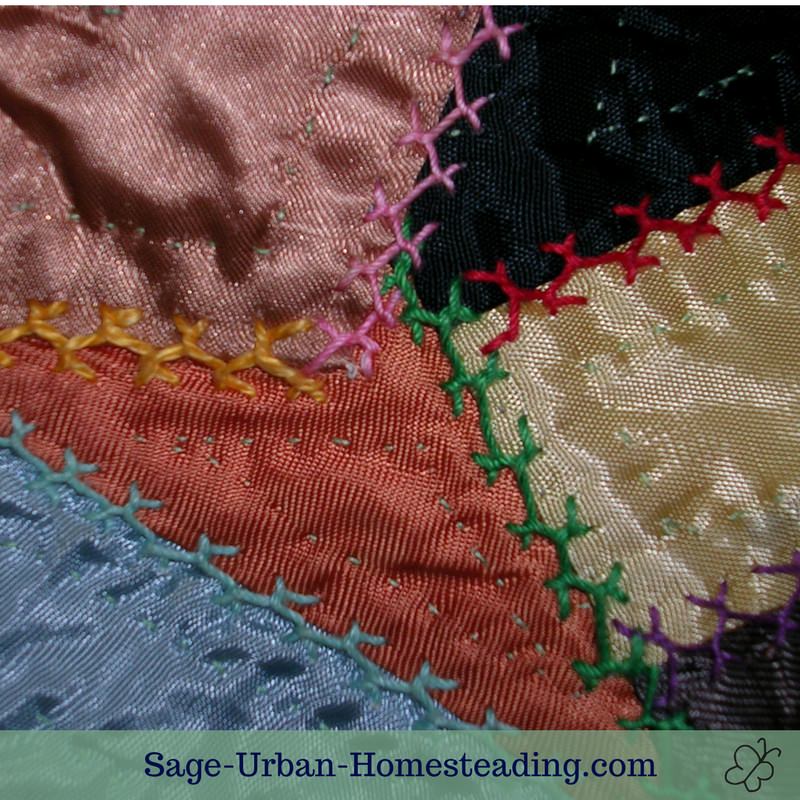
My great-grandmother, Pauline Newcomer Legore, made the crazy patchwork quilt you see in the photos on this page from coat lining scraps left over from the factory where she worked.
Aren't the colors interesting? The quilt back and binding are sea green.
She made several quilts by hand, but this one has hand embroidery going over the seams as a decoration.
Crazy Quilt Embroidery Stitches
She used the feather stitch, which is a standard stitch for crewel embroidery.
Some quilters use floss of only one color. I like it that my great-grandmother used a variety of floss colors. It makes embroidered quilts more fun and interesting to examine.
Quilting was a way to recycle leftover scraps of clothing. Traditional crazy quilting did not use a pattern to arrange the scraps into specific sizes and shapes --- that's what made it crazy!
How to Make a Crazy Quilt Pattern in the Traditional Style
- Cut two scraps into interesting shapes and sew them together with a straight line. All raw edges should remain on the same side.
- Cut another scrap and, using a straight line or two, sew it onto the pieces that have already been joined.
- Repeat step 3 until the quilt top is as big as you want it. Try not to let scraps of the same color touch each other.
- Use floss to work the crewel embroidery feather stitch over the seams. Note that in this case the embroidery is entirely decorative because the raw edges are all on the lower side. Embroidery does serve a purpose with raw edges when doing applique, but I'm talking about traditional crazy quilts.
- Use a thin batting and a solid piece of cloth for the back of the quilt. Carefully sew the layers together with a fine thread the same color as the backing fabric. Follow the lines of the patch shapes to create a smaller version of the same shape inside each one. You need enough quilting to keep the batting in place, so some larger patches may need two successively smaller shapes inside. (See photos above.)
- Sew on a binding around the edge using the same fabric that was used for the back.
A crazy quilt embroidery project should be a fun way to relax, especially after you've been doing traditional quilting or a counted form of embroidery such as cross stitch, hardanger, or blackwork.
Modern crazy quilts can also be decorated with more crewel embroidery such as lazy daisy flowers or images made with beads.
